 Anacortes Roofing
 Board & Batten Siding in Cap Sante: Built for the Hill Above the Marina
Cap Sante sits up on the bluff overlooking the marina and Guemes Channel, which is exactly why homes here look the way they do — a lot of vertical lines, clean shadow gaps, and a board and batten profile that reads as sharp and modern against the water view. It's a good-looking siding choice for this part of Anacortes. It's also a siding choice that gets punished fast if it's installed with the wrong material or the wrong technique, because this hillside takes a beating from the marine environment below it.
This page is about one service in one neighborhood: board and batten siding, done correctly, for homes in Cap Sante. Not a general siding overview, not a citywide pitch — what this specific style needs to survive up here, what a correct installation actually involves, and why the crew doing the work matters as much as the material itself.
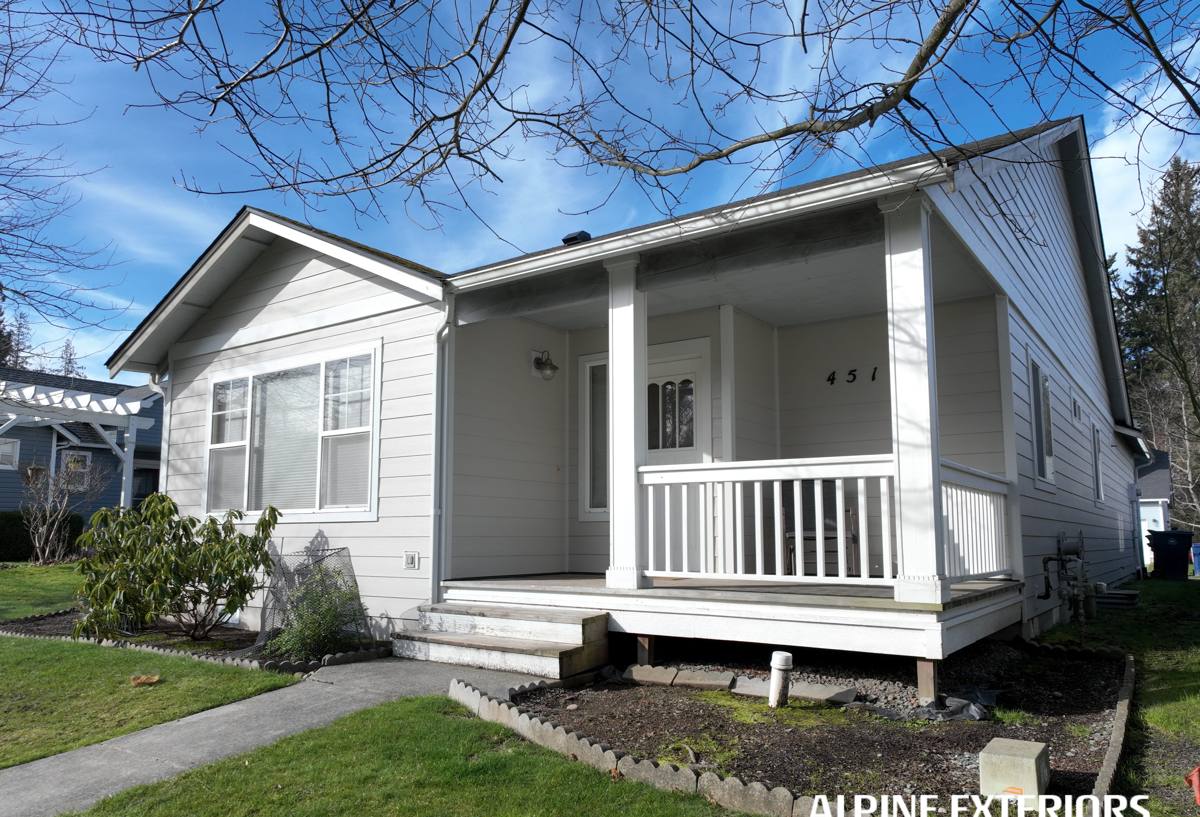
What Cap Sante's Climate Actually Does to Vertical Siding
Board and batten is more vulnerable to certain failure modes than horizontal lap siding, simply because of geometry. Every batten creates a vertical seam, and every seam is a place where wind-driven rain can find a way in if the assembly behind it wasn't built to shed water. In a neighborhood elevated above open water like Cap Sante, that's not a hypothetical — it's the normal weather pattern.
Salt Air
Homes overlooking the marina and channel sit in a steady drift of salt-laden air. Salt is corrosive to fasteners, flashing, and any metal trim detail on a siding system. Cheap or mismatched fasteners on a board and batten install will show rust streaks bleeding down the battens well before the siding itself shows any wear — and once that starts, it's a cosmetic problem that never fully goes away.
Driving Rain
Skagit County storms don't just drop rain straight down — wind off the water pushes it sideways into the wall assembly, especially on elevated, exposed lots. Vertical battens can actually channel that water downward along the seams if the boards behind them weren't installed with the right gap, flashing, and drainage plane. Water finding its way behind the cladding, rather than off of it, is the single biggest cause of siding failure in coastal Washington.
A Long Moss Season
Western Washington's moss and algae season runs long, and shaded, north-facing walls in a hillside neighborhood like Cap Sante — tucked between trees and other homes — stay damp for extended stretches. Organic growth on siding isn't just an appearance issue. It holds moisture against the surface far longer than a dry wall would, and on the wrong substrate that constant dampness accelerates rot, delamination, or paint failure.
Why We Only Install James Hardie for Board and Batten Here
Board and batten shows up in a lot of materials — vinyl, LP SmartSide (engineered wood), primed spruce, cedar, and fiber cement. We install James Hardie fiber cement exclusively, and on a project like this, in a location like this, the reasoning is straightforward rather than dogmatic.
Vinyl Board and Batten
Vinyl is inexpensive and low-maintenance in mild conditions, but it's a thin, flexible plastic product, and on an exposed hillside lot it shows its limits: it can warp or distort in direct sun and heat cycling, its seams and panel edges are more prone to wind infiltration in driving-rain conditions, and its color is baked into the plastic rather than a factory-applied finish, so it fades and chalks over time with no practical way to refresh it short of replacement.
LP SmartSide and Primed Wood
Engineered wood and primed spruce board and batten look great on day one, and if perfectly maintained they can perform reasonably well. The catch is that "perfectly maintained" is doing a lot of work in that sentence — any wood-based product depends on an intact paint film and sealed edges to keep moisture out, and a long moss season combined with driving rain is exactly the combination that finds the first pinhole in that protection. Once moisture gets into the substrate, wood-based sidings swell, delaminate at the edges, or rot from the inside out, often before it's visible from the outside.
Cedar
Cedar board and batten has real, honest appeal, and it holds up to moisture better than most wood products. But it's a natural material that moves with humidity, requires ongoing refinishing to hold its color and protection, and is combustible — a real consideration anywhere near dry summer conditions or wildfire smoke seasons, which the Pacific Northwest now gets most years.
James Hardie Fiber Cement
Hardie's board and batten systems are cement-based, not wood- or plastic-based, so they don't rot, warp, or feed insects, and they're non-combustible. The ColorPlus factory finish is baked on under controlled conditions rather than field-applied, which means better adhesion and UV resistance than a job-site paint job, and Hardie's HZ5 product line is engineered specifically for the wet, freeze-cycling Pacific Northwest climate rather than a generic national spec. It's also backed by a strong, transferable manufacturer warranty when installed to Hardie's specifications — which is the operative phrase, because the warranty and the performance both depend on correct installation, not just correct material.
What a Correct Board and Batten Installation Actually Involves
The material is only half the equation. Board and batten fails in coastal, high-moisture climates far more often from installation shortcuts than from the product itself. A correct install on a Cap Sante home includes:
- A drainage plane (weather-resistive barrier) installed and lapped correctly behind the siding, not just stapled up and covered
- A rainscreen gap — furring strips creating a ventilated air space behind the panels — so any water that does get past the surface can drain and dry rather than sit against the wall sheathing
- Correct batten spacing and fastening pattern per Hardie's engineering specs, not "close enough"
- Stainless steel or hot-dip galvanized fasteners rated for coastal/marine exposure — not standard interior-grade fasteners that will rust and stain in salt air
- Properly flashed and sealed penetrations at every window, vent, and utility penetration, since these are the highest-risk leak points on any vertical siding system
- Correct clearance at the base of the wall and at grade, so the bottom of the siding isn't sitting in standing water or splash-back
- Factory-cut, factory-primed panel edges kept intact wherever possible, with any field cuts properly sealed per Hardie's specifications
Skip any one of these and the siding may still look right for a year or two — but in this climate, the shortcuts show up as moisture damage, staining, or panel failure well before a correctly installed system would.
Correct Installation vs. Common Shortcuts
| Detail | Correct Approach | Common Shortcut |
|---|---|---|
| Fasteners | Stainless or hot-dip galvanized, rated for marine exposure | Standard fasteners that rust and streak within a few seasons near salt air |
| Wall assembly | Drainage plane plus ventilated rainscreen gap | Siding fastened directly to sheathing with no drainage path |
| Batten spacing | Engineered per Hardie spec for the panel width used | Spaced by eye for appearance only |
| Cut edges | Sealed per manufacturer instructions | Left raw, inviting moisture into the cut face |
| Base of wall | Proper clearance above grade and hard surfaces | Siding installed tight to grade, soaking up splash-back |
Our Process for a Cap Sante Board and Batten Project
Every home on this hillside sits a little differently relative to wind, sun exposure, and tree cover, so the process starts with actually looking at the specific house rather than quoting off a photo.
1. On-Site Assessment
We walk the exterior, check for existing moisture damage, look at how the current siding (if any) has held up, and note exposure — which walls take the worst of the wind-driven rain, which stay shaded and damp longest into moss season.
2. Substrate and Moisture Check
Before anything new goes up, we check the sheathing underneath for existing rot or moisture intrusion. Installing new siding, even correctly, over a damaged substrate just hides the problem — it doesn't fix it.
3. Drainage Plane and Rainscreen Install
This is the part of the job that's invisible once the siding goes up, and it's the part that determines whether the system performs for decades or fails in a few years. We build the weather barrier and ventilated gap to spec before a single Hardie panel or batten goes on the wall.
4. Board and Batten Installation
Panels and battens are installed per Hardie's fastening and spacing requirements, with all cut edges sealed and every penetration flashed.
5. Final Inspection
We walk the finished job checking fastener lines, caulk joints, and flashing details — the things that are easy to see now and very hard to fix later.
What This Kind of Project Costs — and Why
Every board and batten job is priced around the specific home, but the factors that move the price are consistent. We won't quote a number without seeing the house, but here's what actually drives cost:
| Factor | Why It Matters |
|---|---|
| Home size and wall area | More square footage means more material and labor, straightforwardly |
| Existing siding removal | Tear-off and disposal of old material adds labor before the new system can start |
| Substrate repair | Rot or moisture damage found underneath has to be repaired before new siding goes on |
| Trim and detail complexity | Multiple gables, dormers, or window trims mean more cuts, flashing, and finish work |
| Site access and elevation | Hillside lots with steep grades or limited access can require more staging and time |
| Color and finish selection | Standard ColorPlus colors vs. custom finish options affect material cost |
Living With Board and Batten in a Marine Climate
A correctly installed James Hardie system is genuinely low-maintenance compared to wood or vinyl, but "low-maintenance" isn't "no-maintenance" — especially in a moss-prone, salt-air environment like Cap Sante. A little seasonal attention keeps it looking right for the long haul:
- Rinse the exterior periodically to clear salt residue and airborne grime, especially on walls facing the water
- Keep an eye on shaded, north-facing walls for early moss or algae growth and address it before it spreads
- Trim back vegetation and tree cover that keeps any wall section persistently damp
- Inspect caulk lines at trim and penetrations every year or two, and re-seal if it's cracking or pulling away
- Check fastener heads and flashing for early rust or staining, particularly after the first few winters
Why the Crew Matters as Much as the Material
James Hardie makes a strong product, but the manufacturer's own warranty is tied to correct installation — and correct installation for a hillside home above the Cap Sante marina isn't identical to correct installation inland or in a more sheltered part of Skagit County. A crew that already works this neighborhood knows which walls tend to take the worst weather, understands what the salt exposure does to fasteners and flashing over time, and doesn't have to relearn those lessons on your house. That familiarity shows up in details — fastener choice, flashing sequencing, batten spacing — that aren't visible on day one but determine how the siding performs ten and twenty years out.
If you're weighing board and batten siding for a Cap Sante home, we're glad to walk the exterior with you, look at what's there now, and talk through what a correctly built system would involve — no pressure, no obligation. Use the form below to request a free estimate.