 Anacortes Roofing
 Building New in Edison Means Building for This Climate
Edison sits low in the Skagit Valley, close enough to Samish Bay and Padilla Bay that salt-tinged air is a daily fact of life, not an occasional weather event. Add in the driving rain that comes off the water most of the year and the long, damp moss season that follows it, and you have a climate that is genuinely hard on building envelopes. When you're framing a new home, the windows you choose and how they're installed will quietly decide whether that house stays tight and dry for the next thirty years or starts showing rot, staining, and drafts within five.
New construction is the one chance to get this right before drywall, siding, and trim cover up the details. There's no going back later to fix a sill pan that was never installed or a nailing fin that wasn't lapped correctly with the weather-resistant barrier. We install new-construction windows in Edison and the surrounding Skagit County lowlands regularly enough to know exactly which details matter here and which ones are cosmetic.
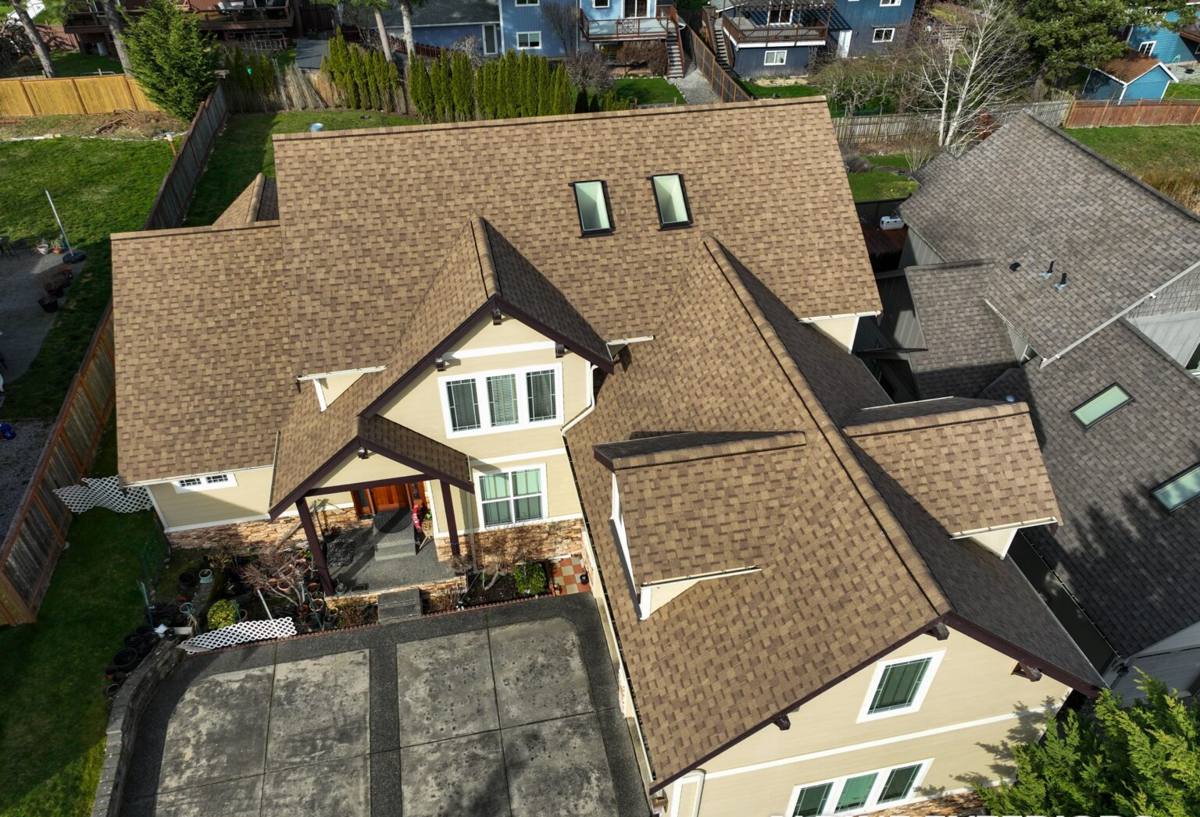
What "New-Construction" Windows Actually Means
New-construction windows are built with a nailing fin (sometimes called a nail flange) around the perimeter of the frame. That fin gets fastened directly to the wall sheathing before the siding goes on, which lets us build proper flashing and drainage into the wall assembly from the outside in. This is different from a replacement or "pocket" window, which gets installed into an existing rough opening from the interior and relies on the old flashing that's already there.
Because you're building new, you get the advantage of sequencing everything correctly: housewrap or WRB first, then window, then flashing tape, then siding. Skipping steps or doing them out of order is where most long-term water problems start, and it's far cheaper to do it right the first time than to chase a leak after the walls are finished.
Why Sequencing Matters More Here Than in a Drier Climate
In a low-rainfall region, a mediocre flashing job might go unnoticed for years. In Edison, wind-driven rain off the flats will find any gap in a single wet season. We treat the flashing sequence as the actual weatherproofing system for the house — the window itself is only as good as the flashing details around it.
The Install Details That Separate a Correct Job From a Callback
Sill Pan Flashing and Water Management
Every new-construction window opening should get a sloped or pan-style sill flashing before the window ever goes in. This creates a dedicated path for any water that gets past the window — through condensation, a failed seal down the road, or wind-driven rain — to drain back out to the exterior instead of soaking into the framing. Skipping the sill pan is one of the most common shortcuts we see, and it's invisible until the drywall comes off during a repair.
Nailing Fin Integration With the WRB
The order of layers around the fin matters: housewrap or building paper goes behind the head and sides of the window but laps over the top of the sill flashing, and the head flashing goes over the housewrap above the window. Get this backwards and you've built a shingle effect that channels water into the wall instead of away from it. This is a detail that takes an extra ten minutes per window and is the difference between a dry wall cavity and a moldy one.
Sealants and Backer Rod — Not Just Caulk
Exterior sealant around a window isn't decorative — it's a secondary line of defense behind the flashing. We use backer rod to control joint depth and a sealant rated for the substrate and for sustained UV and moisture exposure, not whatever caulk happens to be in the truck. In a marine climate, sealant that fails in three years instead of fifteen means moisture gets a path in long before anyone notices a problem.
Choosing Window Materials for Salt Air and Driving Rain
Material choice affects long-term maintenance more than it affects the initial install. Here's how the common options hold up in Edison's conditions:
| Frame Material | Salt Air / Corrosion Behavior | Moisture Tolerance | Maintenance |
|---|---|---|---|
| Vinyl | No corrosion; UV can chalk over decades | Good — won't rot, minimal expansion issues | Low — occasional cleaning |
| Fiberglass | Excellent — very stable in coastal air | Excellent — dimensionally stable when wet or dry | Low — durable finish, holds paint well if painted |
| Wood-Clad | Cladding protects exterior, but any breach exposes wood beneath to rot | Weakest point is the interior wood if moisture gets behind the clad | Higher — sealant joints need periodic inspection |
| Aluminum | Can pit or corrode faster in salt-heavy air without a marine-grade finish | Good structurally, but prone to condensation without thermal breaks | Moderate — finish maintenance matters |
We don't push one brand or product line — our standard is that whatever frame material you choose, the installation details (flashing, sealant, drainage) are what actually protect the house. That said, in a climate like this we do steer clients away from wood-clad units on the most rain-exposed elevations unless there's a strong design reason, simply because any breach in the cladding puts raw wood in the path of near-constant moisture. That's a maintenance trade-off worth understanding up front, not a knock on any manufacturer.
Washington Energy Code and Egress Requirements
New builds in Skagit County fall under the Washington State Energy Code, which sets minimum performance standards for window U-factor (a measure of how well the window resists heat loss) and, in most cases, solar heat gain coefficient depending on your home's overall energy path. Most new-construction windows we install meet these standards well within margin, but the exact number depends on your home's specific energy compliance path chosen by your builder or designer — it's worth confirming with whoever is handling your permit paperwork rather than assuming a stock U-factor is sufficient.
Bedrooms also need at least one window that meets egress requirements — minimum clear opening width, height, and total area, plus a maximum sill height above the finished floor. This is a code requirement, not optional, and it needs to be planned during the window schedule, not discovered during framing inspection.
Moss, Algae, and Long-Term Maintenance in a Wet Climate
Skagit County's long moss season doesn't just affect roofs — north-facing and shaded window sills, especially horizontal ones with a flat profile, can collect organic growth over time if water doesn't shed cleanly. Choosing a sill design with a positive slope, and making sure trim and drip caps are detailed to shed water away from the sill rather than across it, cuts down on the buildup significantly. It's a small design decision at the framing stage that saves cleaning headaches for years afterward.
We also pay attention to how window trim details interact with roof overhangs and gutter placement. A window with excellent flashing can still develop moss and staining if it sits directly in a runoff path from an undersized gutter or a valley above it — that's a whole-envelope conversation, not just a window one.
Our Process for New-Construction Window Installs in Edison
- Plan review. We review the window schedule against the rough openings and framing plans before anything is ordered, catching sizing or egress issues while they're still cheap to fix.
- Rough opening prep. We confirm openings are square, plumb, and correctly sized, and that housewrap or WRB is installed and lapped correctly before windows arrive.
- Sill pan flashing. Every opening gets a sloped sill pan before the window is set.
- Window set and fastening. Units are set level, plumb, and square, fastened per manufacturer specification — not just "close enough."
- Flashing sequence. Head, jamb, and sill flashing are integrated with the WRB in the correct shingle-lap order.
- Sealant and backer rod. Exterior joints are sealed with an appropriate, durable sealant system.
- Final check. We inspect operation, weatherstripping seal, and trim-ready condition before handing the opening off to siding and finish crews.
Why a Crew That Already Works Edison Homes Matters
Edison's exposure to salt air and driving rain off the bay isn't something every crew accounts for by default — a lot of standard window install practice is written for drier, inland conditions. A crew that already works this area knows to slow down on flashing details that would be optional elsewhere, knows which sill and trim profiles actually shed water instead of collecting it, and isn't guessing at how the local energy code and egress rules apply to your specific build. That local familiarity shows up years later as the difference between a house that stays dry and one that needs an expensive intervention.
Checklist: What to Confirm Before Your Windows Go In
- Rough openings are square, plumb, and match the ordered window sizes exactly
- Housewrap or WRB is fully installed and correctly lapped at each opening
- Sloped sill pan flashing is planned for every window, not just select ones
- Flashing sequence (housewrap, sill pan, window, jamb flashing, head flashing) is understood by whoever is installing
- Bedroom windows meet egress sizing and sill-height requirements
- Window U-factor meets your home's Washington energy code compliance path
- Frame material choice accounts for salt air exposure and sun/rain-facing orientation
- Sill and trim details are designed to shed water, not collect moss or standing water
If you're framing a new build in Edison and want the window package handled by a crew that treats flashing and drainage as seriously as the windows themselves, we're happy to walk your plans and give you a straightforward, no-pressure estimate — just fill out the form below.