 Anacortes Roofing
 Flounder Bay sits close to the water on Fidalgo Island's west side, and homes there deal with a rougher set of conditions than a roof gets a few miles inland. Salt-laden air off the Salish Sea, rain that comes in sideways more often than straight down, and a moss season that runs long in the shaded, damp months all wear on a roof differently here than they do in a drier, more sheltered part of Skagit County. Roof repair in Flounder Bay isn't just patching a leak wherever it shows up — it's understanding why that leak happened in the first place, and whether the fix will actually hold up against what this location keeps throwing at it. This page covers what Flounder Bay roofs typically need, what a correct repair involves, and how our process works from the first call to the final check.
Why Flounder Bay Roofs Wear the Way They Do
Three conditions do most of the damage here, and they rarely act alone — they compound each other over the course of a wet Pacific Northwest year.
Salt Air
Airborne salt off the water speeds up corrosion on anything metal on a roof: fasteners, flashing, vent stacks, and gutter hardware. A fastener that would last decades a few miles inland can start rusting within a handful of years this close to the water if it wasn't rated for a marine environment to begin with. Corroded fasteners and flashing are one of the more common root causes we find behind a "mystery" leak — the failure point is small, but the damage it causes isn't.
Driving Rain
Wind off the water pushes rain sideways instead of letting it fall straight down, which means it finds its way into laps, seams, and flashing joints that would stay dry in a calmer storm. A roof detail that's technically fine under a minimum-code standard can still leak here if it wasn't built to handle wind-driven exposure. This is why so many Flounder Bay leaks show up at valleys, chimney flashing, and the transitions where a roof meets a wall or dormer — those are the spots most vulnerable to sideways rain.
Moss Season
Shaded, moisture-holding conditions support a long moss and algae season on north-facing slopes and anywhere tree cover keeps a roof from drying out between rains. Moss isn't just a cosmetic issue — it holds water against the roofing surface, lifts shingle edges as it grows, and works its way under laps that were installed a little too loosely. A roof repair that doesn't address the moss and the moisture conditions feeding it tends to need the same repair again within a season or two.
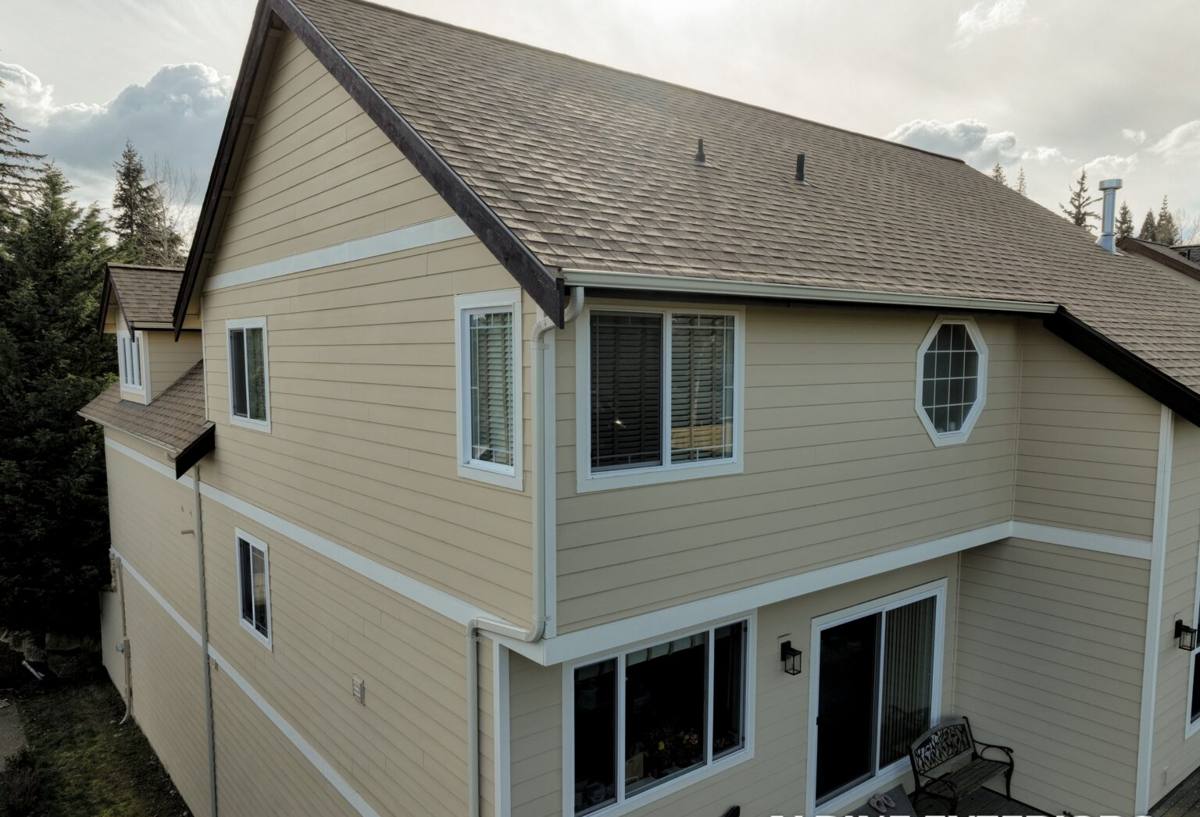
Signs a Flounder Bay Roof Needs Repair
Not every issue means a full roof replacement — most of what we get called out for is a legitimate repair. These are the signals that usually mean it's time to have someone look:
- A water stain on a ceiling or wall, even a small one, especially after a windy rainstorm
- Missing, cracked, or curling shingles in an isolated area rather than across the whole roof
- Moss buildup concentrated on one slope, particularly a shaded, north-facing one
- Rust staining running down from a vent stack, flashing edge, or fastener line
- Granules collecting in gutters in noticeably larger amounts than normal light shedding
- Daylight visible through the roof deck when viewed from inside the attic
- Soft or spongy-feeling roof sections when walked, which usually means deck damage underneath
- A leak that only shows up during storms with strong wind, not during calm rain
Any one of these on its own is usually a repair, not a replacement. What matters more than the symptom is catching it before repeated wetting turns a flashing fix into a deck repair, or a deck repair into something bigger.
Repair or Replace? How We Decide
Homeowners near the water sometimes assume a leak means the whole roof is done. Often it isn't. We look at a few specific factors before recommending either path, and we'll walk through our reasoning rather than just handing over a number.
| Factor | Usually Points to Repair | Usually Points to Replacement |
|---|---|---|
| Extent of damage | Isolated to one area, flashing point, or slope | Spread across multiple sections or slopes |
| Roof age | Well within the material's expected service life | At or past the manufacturer's rated life for this exposure |
| Deck condition | Sheathing is sound under the damaged area | Rot or soft decking found in multiple spots |
| Cause of the problem | A single failed flashing detail or storm-related damage | Systemic issue like undersized underlayment or widespread corrosion |
| Shingle or material availability | A close match is available for patching | Discontinued material makes patching visually or functionally difficult |
When a repair is the right call, we'll say so plainly. Recommending a full replacement for a problem a repair would solve doesn't do a Flounder Bay homeowner any favors, and it's not how we operate.
What a Correct Roof Repair Actually Involves
The visible patch is the smallest part of a repair that actually holds up here. Most repairs that fail again within a year or two failed because something underneath or around the patch wasn't addressed.
Finding the Real Source
Water travels before it shows up as a stain, so the spot on a ceiling is rarely the spot where water is actually getting in. We trace the path back — often uphill and to the side of where the damage is visible — before we start any repair work, because patching the wrong spot means the same leak reappears at the next hard rain.
Flashing Repair
Flashing around chimneys, skylights, vent penetrations, and roof-to-wall transitions is where the majority of Flounder Bay leaks actually originate. A proper flashing repair means removing the failed section, replacing it with corrosion-resistant flashing suited to salt air exposure, and integrating it correctly with the surrounding underlayment and roofing material — not just running a bead of sealant over the gap and calling it done.
Underlayment
If water has been getting past the roofing surface, the underlayment underneath is doing the real work of keeping it out of the house. Where a repair opens up that layer, we replace the affected underlayment with a synthetic or self-adhered membrane appropriate for the exposure, rather than reusing old material that's already been compromised.
Matching Materials
Shingle color and profile can be hard to match exactly once a roof has weathered for several years, and we're upfront about that before starting a visible patch. We source the closest available match and place patches where the difference will be least noticeable, but we won't tell a homeowner a patch will be invisible when it might not be.
Fasteners and Hardware
Any fasteners or hardware involved in the repair get replaced with corrosion-resistant, marine-rated options rather than whatever's fastest to grab. Standard fasteners rust faster here than most homeowners expect, and a repair built around the wrong fastener spec is a repair with a short clock on it.
Common Flounder Bay Repair Types
Different problems call for different fixes. Here's a general sense of what's involved in the repairs we do most often near the water.
| Repair Type | Typical Cause | What's Involved |
|---|---|---|
| Flashing repair | Corroded or improperly sealed flashing at penetrations or transitions | Remove failed flashing, replace with coastal-rated material, re-integrate with underlayment |
| Shingle or section replacement | Wind damage, granule loss, or isolated wear | Remove damaged shingles, inspect underlayment, install matched replacement material |
| Valley repair | Wind-driven rain overwhelming an undersized valley detail | Rebuild valley with proper underlayment and flashing width for the exposure |
| Vent or stack repair | Corroded boot or flashing collar around a roof penetration | Replace boot and flashing, reseal with attention to fastener placement |
| Deck repair | Prolonged moisture intrusion causing rot in the sheathing | Remove roofing above the affected area, replace sheathing, rebuild roofing layers |
| Moss and debris remediation | Long shaded moss season lifting shingle edges and holding moisture | Safe removal, treatment, and a look at whether ventilation or tree cover is contributing |
Our Repair Process
- Initial contact and scheduling. We get basic details about the problem and schedule a visit, prioritizing active leaks.
- On-site inspection. We inspect the roof from the affected area outward, tracing water paths rather than assuming the visible damage marks the true source.
- Honest diagnosis. We explain what we found, what's causing it, and whether it's a repair or something larger, with photos and a clear explanation either way.
- Written estimate. We provide a clear scope of work and price before anything is repaired, so there are no surprises mid-job.
- Repair work. We complete the flashing, shingle, underlayment, or deck work needed, using materials suited to this location's exposure.
- Cleanup and debris removal. The work area is cleared of old materials and debris before we consider the job finished.
- Final walk-through. We review the completed repair with the homeowner and go over any follow-up care.
Cost Factors for Roof Repair in Flounder Bay
Repair costs vary more than people expect, mostly because the cause of the leak matters more than the size of the visible damage. We don't quote a number without seeing the roof, but these are the variables that typically move a repair estimate up or down.
| Factor | Why It Matters Here |
|---|---|
| Root cause vs. visible symptom | A flashing failure two feet from the stain costs less to fix than tracing and repairing a spread-out underlayment issue |
| Roof pitch and access | Steeper or harder-to-reach roofs near the water often need more safety setup and time |
| Extent of deck damage | Rot found once shingles are pulled back adds cost not visible before the repair starts |
| Material matching | Older or discontinued shingle lines can be harder and slightly costlier to source a close match for |
| Corrosion-rated hardware | Marine-rated fasteners and flashing cost more than standard hardware but hold up far longer this close to the water |
| Number of repair locations | Multiple separate problem areas take more time than one concentrated repair, even if the total damaged area is similar |
Why Hire a Crew That Already Works Flounder Bay
A roofer who mostly works drier, more inland jobs elsewhere in Skagit County isn't wrong about roofing in general — they're just working from a different set of defaults. Flashing choices, fastener specs, and underlayment coverage that hold up fine on a typical inland roof are often undersized for what a home this close to the water deals with year-round. A crew that's already repaired roofs around Flounder Bay and the rest of Anacortes has seen which details actually fail out here, not just which ones fail in general.
That experience shows up in the diagnosis as much as the repair itself. Knowing that a stain three feet from a chimney usually means the chimney flashing, not a shingle defect, or that a north-facing slope will keep re-growing moss until the shading and ventilation are addressed, comes from having repaired enough roofs in this exact kind of exposure to recognize the pattern quickly.
Maintaining Your Roof After a Repair
A correctly done repair still benefits from some basic upkeep given the conditions here:
- Keep gutters and downspouts clear so water isn't backing up under roof edges during heavy rain
- Have moss addressed early in the season before it spreads across a full slope
- Trim back tree cover keeping any section of roof shaded and slow to dry out
- Have flashing points checked after any major windstorm, not just after a visible leak appears
- Address small leak signs right away rather than waiting to see if they get worse
If your roof is showing signs of a problem or you just want a second opinion before a small issue turns into a bigger one, we're glad to take a look. Reach out for a free, no-pressure estimate using the form below.