 Anacortes Roofing
 Why New Roof Installation in Mount Vernon Isn't a One-Size-Fits-All Job
Mount Vernon sits in the Skagit Valley, a short drive inland from the salt water of Fidalgo Bay and the Anacortes shoreline, but close enough that marine air still pushes up the valley on a regular basis. Add in the low-lying river bottom terrain, the tree cover around many established neighborhoods, and the long stretch of gray, wet months that define this part of Skagit County, and you get a roofing environment that's tougher on materials than it looks from the street. A roof that's correctly built for Mount Vernon isn't dramatically different in appearance from one built anywhere else — but underneath the shingles, the details that matter (ventilation, flashing, underlayment, fastener choice) have to account for near-constant moisture exposure, slow-drying shade, and periodic wind-driven storms coming off the Sound.
When we install a new roof here, we're not just replacing what failed — we're building a system designed to shed water fast, dry out between storms, and resist the moss and mildew that thrive in this climate. That's the difference between a roof that looks fine for a few years and one that actually holds up for its full service life.
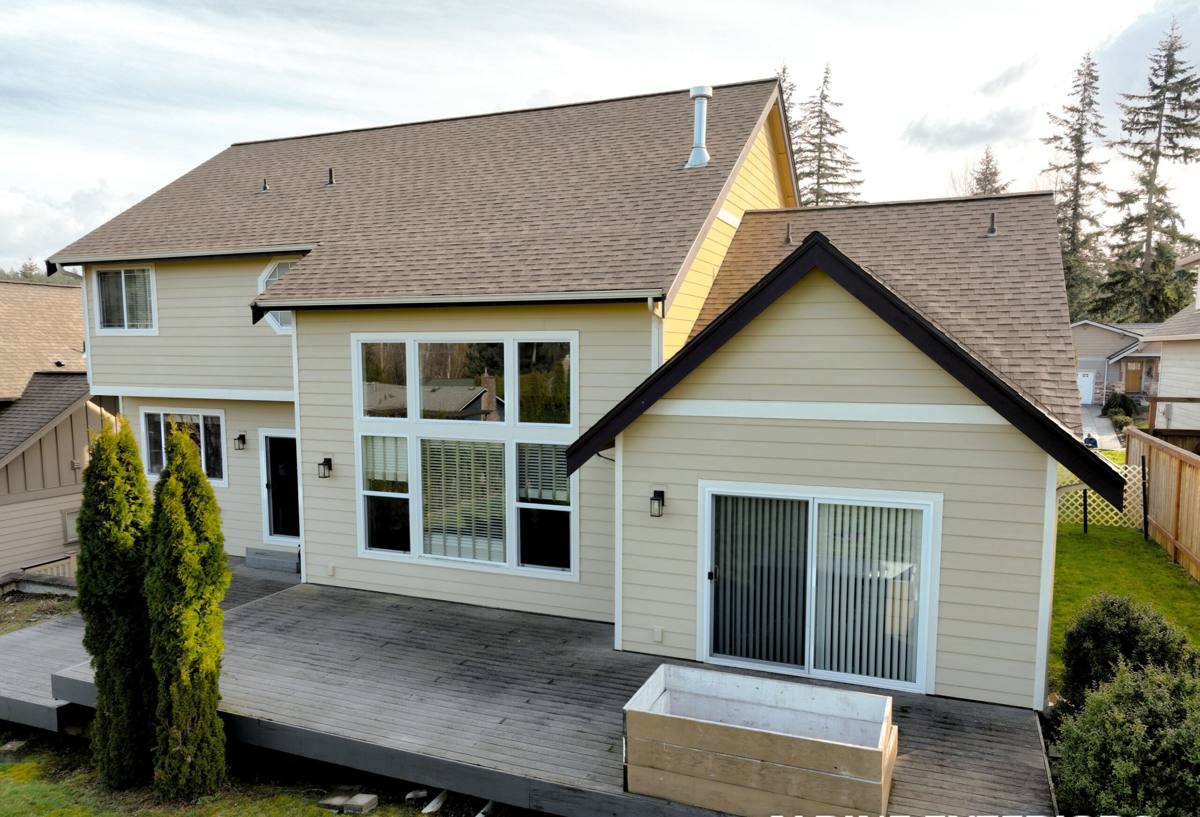
What This Climate Does to an Aging or Poorly Installed Roof
Homeowners in Mount Vernon usually notice the same handful of problems when a roof is nearing the end of its life or was installed without accounting for local conditions:
- Moss and algae streaking on north-facing slopes and shaded sections, especially under overhanging trees
- Granule loss and curling shingle edges from repeated wet-dry cycling
- Soft or spongy decking discovered during tear-off, from slow leaks that went unnoticed under moss buildup
- Corroded or rusting fasteners and flashing, accelerated by the salt-tinged marine air that reaches the valley
- Ice-dam-style backups at eaves during cold snaps, even though this area rarely sees heavy snow
- Gutter overflow and fascia rot from valleys and low-slope sections that don't drain fast enough
None of these are unusual for a roof reaching 20-25 years old. But we also see them show up early — sometimes at 10-12 years — on roofs where ventilation was skipped, cheap underlayment was used, or flashing details were rushed. A new roof installation is the point where you fix those structural shortcuts permanently, not just patch around them again.
What a Correct New Roof Installation Actually Involves
Full Tear-Off, Not an Overlay
We don't install new shingles over old ones. A second layer traps moisture, hides deck damage, voids most manufacturer warranties, and adds weight the structure wasn't necessarily designed to carry long-term. A full tear-off lets us inspect the decking underneath, which is the only way to know whether Mount Vernon's damp conditions have already caused rot that needs to be addressed before anything new goes down.
Decking Inspection and Repair
Any soft, delaminated, or water-stained sheathing gets replaced before a single shingle goes on. Installing a new roof over compromised decking is one of the most common causes of early failure we see when we're called out to fix someone else's work.
Underlayment and Ice-and-Water Protection
Given how much driving rain this area gets during fall and winter storm systems, we treat underlayment as a real second line of defense, not a formality. That means synthetic underlayment across the field for tear resistance and water shedding, plus self-adhering ice-and-water shield membrane at eaves, valleys, and any low-slope transitions where wind-driven rain is most likely to find a way under the shingles.
Flashing Details
Chimneys, skylights, sidewalls, and roof-to-wall transitions are where most leaks start — not in the open field of the roof. We use new step flashing, counterflashing, and properly lapped valley metal rather than relying on caulk or sealant to do a metal component's job.
Ventilation
Balanced intake and exhaust ventilation matters everywhere, but it matters more in a climate where attics stay damp for long stretches of the year. Proper ventilation keeps sheathing dry from underneath, reduces the moisture that feeds moss and mildew, and helps the shingles themselves last through their full warranty period instead of failing early from trapped heat and humidity.
Choosing a Roofing Material for a Mount Vernon Home
There's no single "best" material for this area — the right choice depends on your roof's slope, your home's style, your budget, and how much long-term maintenance you're willing to do. Here's how the common options actually compare under Mount Vernon conditions:
| Material | Moisture & Moss Behavior | Typical Lifespan Here | Maintenance Burden |
|---|---|---|---|
| Architectural (dimensional) asphalt shingles | Good with proper ventilation and algae-resistant granules; still needs periodic moss removal in shaded areas | 20-30 years | Low to moderate |
| 3-tab asphalt shingles | More prone to curling and granule loss under repeated wet-dry cycling | 15-20 years | Moderate |
| Standing seam metal | Sheds water and moss buildup very well; minimal organic growth on smooth panels | 40-50+ years | Low |
| Composite / synthetic shake | Resists moisture absorption better than wood; performance varies by manufacturer | 30-50 years | Low to moderate |
| Cedar shake | Attractive but absorbs moisture and stays damp longest in shaded, humid conditions | 20-30 years with diligent upkeep | High |
Most Mount Vernon homeowners land on a quality architectural asphalt shingle with algae-resistant granules for the best balance of cost, appearance, and performance. Metal roofing has become a more common upgrade choice for homeowners planning to stay long-term and wanting to largely stop thinking about moss and moisture management altogether.
What Drives the Cost of a New Roof Here
Every estimate we give is specific to the house, but the same handful of factors move the price up or down on almost every job in this area:
| Cost Factor | Why It Matters in Mount Vernon |
|---|---|
| Roof size and pitch | Steeper, more cut-up rooflines take longer to work safely and generate more waste |
| Number of existing layers | Tear-off and disposal cost more when removing two or three layers of old roofing |
| Decking condition | Rot from long-term moisture exposure often isn't visible until tear-off begins |
| Material choice | Asphalt, metal, and composite options span a wide price range |
| Ventilation upgrades | Adding proper intake/exhaust venting on an older home may require new components |
| Flashing and penetrations | Chimneys, skylights, and multiple roof valleys add labor and material |
| Access and site conditions | Mature trees, tight lots, and steep driveways affect staging and cleanup time |
We walk every roof and inspect the attic before quoting, rather than pricing off square footage alone. That's the only way to catch decking problems and ventilation gaps before they turn into change orders mid-project.
How Our Installation Process Works
- On-site inspection and estimate — we walk the roof, check the attic, and measure for an accurate, written quote with no guesswork.
- Material selection — we go over the options that make sense for your roofline, budget, and how long you plan to stay in the home.
- Scheduling around the weather — we plan installs during realistic dry-weather windows and stage materials so an unexpected shower doesn't compromise exposed decking.
- Tear-off and deck inspection — old roofing comes off completely, decking is inspected board by board, and any damaged sections are replaced.
- Underlayment and flashing installation — ice-and-water membrane, synthetic underlayment, and new metal flashing go in before any finish material is installed.
- Ventilation check and upgrades — intake and exhaust venting is verified or added to keep the new roof performing as designed.
- Finish material installation — shingles, metal panels, or composite material go on per manufacturer specification, not shortcuts.
- Cleanup and final walkthrough — magnetic sweep for nails, full site cleanup, and a walkthrough so you know exactly what was done.
Why It Matters That Your Crew Already Works in Mount Vernon
A roofing crew that regularly works Skagit County jobs isn't guessing at how this climate behaves — they've already seen which north-facing slopes hold moss the longest, which older neighborhoods tend to have decking issues from decades of moisture exposure, and how quickly a weather window can close during a fall storm system. That local pattern recognition shows up in small decisions throughout the job: where to add extra ice-and-water protection, how much ventilation an older attic actually needs, and how to sequence the work so materials aren't sitting exposed when a system rolls in off the Sound.
It also matters for permitting and code compliance. Mount Vernon and Skagit County have their own permit requirements and inspection processes for roof replacement, and a crew that pulls permits here regularly knows the process rather than treating it as an afterthought.
Protecting Your New Roof After Installation
A correctly installed roof still benefits from basic upkeep, especially in a climate that grows moss on almost anything left damp and shaded long enough:
- Keep gutters clear of needles and leaf debris so water doesn't back up under the shingle edge
- Trim back tree limbs that overhang the roofline to cut down on shade, debris, and moss growth
- Have moss treated or gently removed before it builds up thick enough to hold moisture against the shingles
- Schedule a periodic roof and attic check, particularly after major windstorms
- Address any small leak or stain immediately rather than waiting to see if it gets worse
If you're weighing whether your current roof needs full replacement or is still a candidate for repair, or you're ready to plan a new installation before the next wet season sets in, we're happy to take a look. We offer free, no-pressure estimates — just fill out the form below and we'll get a visit scheduled.