 Anacortes Roofing
 Building New in Ship Harbor: What the Windows Have to Handle
Ship Harbor sits on the west side of Fidalgo Island, close enough to the water that salt-laden air, wind-driven rain, and long stretches of overcast, moisture-heavy weather are just part of the deal. If you're framing a new home or addition out here, the windows you choose and how they get installed matter more than they would somewhere inland. A window that's merely "up to code" in a dry climate can still let water in, fog up prematurely, or corrode its hardware within a few years when it's facing Anacortes weather full-time.
New construction gives you one real advantage over a replacement job: the wall is open. You get to build the water management system — flashing, weather-resistive barrier (WRB), sealant, and window — correctly from the studs out, instead of working around whatever was done decades ago. That's a chance worth taking seriously, because once the siding and trim go on, most of that work is buried for the life of the house.
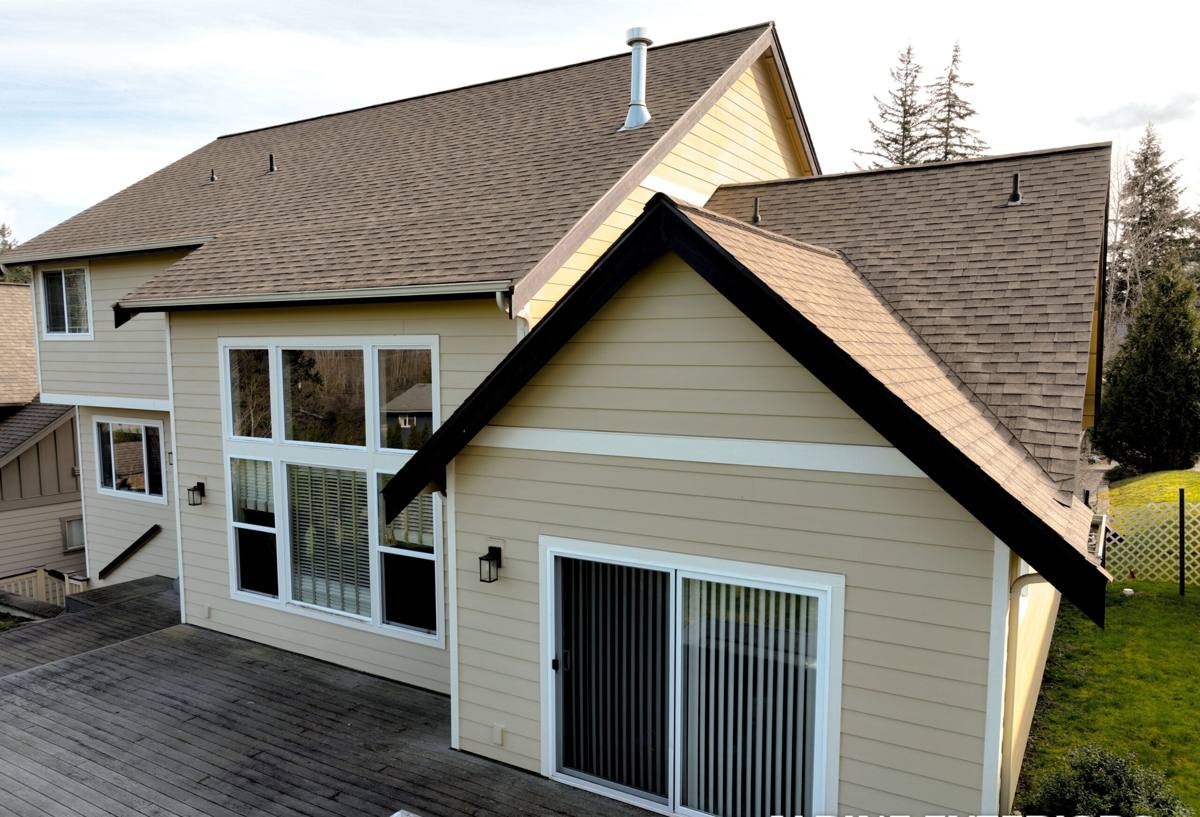
Why New-Construction Windows Are a Different Job Than Replacements
New-construction windows have a nailing fin (or flange) around the perimeter that gets integrated directly into the wall's water-resistive barrier, in a specific shingle-lap sequence with flashing tape and often a sill pan. Replacement windows, by contrast, get inserted into an existing frame and rely more heavily on sealant and the condition of the original opening. Skip the fin-and-flashing sequence, or get the layering order wrong, and you've built a leak path into the wall that won't show up as a problem for a year or two — right about the time it's expensive to fix.
Because Ship Harbor gets sustained wind-driven rain off the water, we treat the flashing and sill pan details as the actual "product" being installed — the window itself is only half the system. A mid-grade window installed correctly will outperform a premium window installed carelessly, every time, in this climate.
What a Correct Installation Sequence Looks Like
- Rough opening checked for square, level, and correct dimensions before any window arrives on site
- Sill pan flashing installed with a slight outward slope so any water that gets past the window drains out, not into the wall cavity
- WRB (housewrap) cut and integrated in the correct shingle-lap order — flashing tape overlapping the WRB at the sill, WRB overlapping the tape at the jambs and head
- Window set plumb, level, and square, fastened per the manufacturer's schedule — not just "screwed until it feels tight"
- Backer rod and low-expansion sealant at the interior and exterior, sized to the gap rather than overfilled
- Head flashing installed last, lapping over the WRB above it so water sheds outward and down, never behind the barrier
Product Choices That Make Sense for This Climate
For Ship Harbor builds we steer conversations toward frame materials and glazing packages that hold up to sustained moisture and salt exposure without high upkeep. There isn't one "correct" answer for every house — budget, architectural style, and how much maintenance an owner wants to do all factor in — but the trade-offs are worth laying out plainly.
| Frame Material | Moisture/Salt Behavior | Maintenance | Typical Fit |
|---|---|---|---|
| Vinyl | Doesn't rot or corrode; performs well in coastal humidity | Low — occasional cleaning | Budget-conscious new construction, rental or spec builds |
| Fiberglass | Very stable dimensionally, resists moisture and UV well | Low | Higher-end new construction wanting durability without wood upkeep |
| Wood-Clad | Exterior cladding protects the wood, but any breach in the clad seal invites rot over time near salt air | Moderate — clad seams need periodic inspection | Homeowners who want a wood interior look and are willing to stay ahead of maintenance |
| Aluminum | Strong but conducts cold and can corrode faster in salt air without a quality finish | Moderate | Larger openings, contemporary designs, typically with a marine-grade finish |
We don't push any one brand or line as the automatic answer for this neighborhood. What we do insist on is a window rated for the wind and water exposure the site actually sees, with a warranty structure that covers glass seal failure and hardware — because in a marine climate, both are where windows tend to show wear first.
Glazing and Hardware Notes Specific to Coastal Exposure
Dual-pane, low-E glazing is standard for new construction here and helps with both energy performance and condensation control on cold, damp mornings. For homes closer to open water or in more wind-exposed positions, we'll also talk through impact-resistant glazing options and corrosion-resistant hardware finishes — stainless or coated fasteners and hinges hold up noticeably longer than standard-grade hardware once salt air gets into the mix.
How We Work New-Construction Windows Into a Build
On new builds we're usually coordinating with a general contractor or the homeowner acting as their own GC, and timing matters. Windows generally get set after the house is dried in — roof on, WRB up — but before siding starts, so the flashing sequence ties cleanly into both the wall wrap and the eventual siding or trim. We walk the rough openings before windows arrive to catch framing issues early, since it's far cheaper to fix a slightly out-of-square opening before the window shows up than after.
We also coordinate directly with whoever is installing siding or trim, so the head flashing and any kick-out flashing at rooflines lap correctly with what goes on next. A window installed perfectly in isolation can still leak if the siding crew laps the WRB the wrong direction above it — this is a case where one trade needs to know what the other one did.
Typical Sequence on a Ship Harbor New Build
- Rough opening review and sizing confirmation against approved window schedule
- Sill pan flashing and WRB integration at each opening
- Window set, leveled, fastened, and shimmed per manufacturer spec
- Interior and exterior sealant, backer rod where gaps require it
- Head and (where applicable) kick-out flashing tied into the WRB above
- Final check for operation, square, and weep path clearance before siding begins
Mistakes We See That Cause Problems Down the Road
Most window failures we get called out to inspect on older Anacortes homes trace back to one of a small handful of installation shortcuts, not the window product itself. On new construction, avoiding these is far easier than fixing them later.
- Sealant used as a substitute for correct flashing sequence, instead of a backup to it
- WRB lapped in the wrong order at the sill, directing water into the wall instead of out of it
- No sill pan, or a flat/inward-sloped sill pan that traps water instead of draining it
- Windows fastened before checking the opening for square, leading to stress on the frame and premature seal failure
- Weep holes or drainage paths blocked by sealant, insulation, or trim installed later in the build
Cost Factors for New-Construction Window Packages
Pricing for a whole-house window package on new construction varies a lot based on quantity, size, frame material, and glazing upgrades. Rather than quote a number that won't fit your specific plan, here's what actually moves the price:
| Factor | Why It Matters |
|---|---|
| Frame material | Vinyl is typically the most affordable; fiberglass and wood-clad cost more up front but shift the maintenance and longevity math |
| Window count and size | Large openings, picture windows, and multi-unit combinations (bay, bow, or ganged units) add both material and labor cost |
| Glazing upgrades | Impact-resistant or higher-performance low-E glass adds cost but pays off in a wind- and moisture-exposed location |
| Flashing and prep complexity | Homes with complex rooflines or multiple wall planes need more flashing detail work per opening |
| Coordination with other trades | Installing during the correct build phase, alongside siding and roofing crews, avoids rework and change orders |
We'll walk your plans, talk through where it makes sense to spend more (glazing package, hardware finish) versus where a mid-grade option is perfectly reasonable, and give you real numbers based on your actual opening schedule — not a generic estimate.
Why a Crew That Already Works Ship Harbor Matters
Skagit County building requirements and the practical realities of building near the water aren't identical to building twenty miles inland. A crew that regularly works Anacortes new construction already knows how local inspectors expect flashing details documented, how the prevailing wind and rain direction off the water tends to hit a given lot, and where moss and algae growth tend to concentrate on north- and west-facing walls over a long Pacific Northwest wet season. That local pattern recognition shows up in small decisions — which direction to lap a flashing detail on a particular elevation, whether a given opening needs extra attention because of its exposure — that a crew unfamiliar with the area might not think to flag.
It also means faster turnaround. We're not driving in from out of the area to hit a narrow install window between framing and siding; we can schedule around your build's actual pace and be back on short notice if a punch-list item comes up.
After the Build: What Keeps New Windows Performing
Correct installation gets you most of the way to trouble-free windows, but a little owner attention keeps them that way. In this climate, that mostly means keeping an eye on exterior sealant joints for cracking or separation, clearing debris and moss buildup away from sills and drainage paths, and having hardware checked periodically if the home sits in a more wind- or salt-exposed position. None of this is heavy maintenance — it's the kind of thing worth a look during a seasonal walk-around, particularly heading into the wetter months.
If you're framing a new home or addition in Ship Harbor and want windows specified and installed to actually hold up to this stretch of coastline, we're glad to walk your plans with you. Reach out for a free, no-pressure estimate using the form below.