 Anacortes Roofing
 Building New in Burlington? The Windows Are Not a Finishing Touch
Burlington sits in the Skagit Valley just inland from Anacortes and the Salish Sea, which puts new construction here under a specific kind of pressure. Homes in this corridor take on salt-laden air moving up from the water, long stretches of driving rain off the Sound, and a wet, shaded season that grows moss on anything that stays damp too long. On a new build, the windows are one of the largest penetrations in the building envelope, and if they go in wrong, the house never really dries out the way it should. We install new-construction windows for builders and homeowners working in and around Burlington who want that penetration done right the first time, because there's no siding to pull off and redo later — you get one shot at the flashing before the wall closes up.
This page is specifically about new-construction window installation — windows going into a wall that doesn't exist yet, or one that's fully open to the sheathing — not about replacing old windows in a finished wall. The two jobs use different products, different techniques, and different failure points, and mixing them up is one of the more common ways a new home ends up with a hidden moisture problem within a few years of the certificate of occupancy.
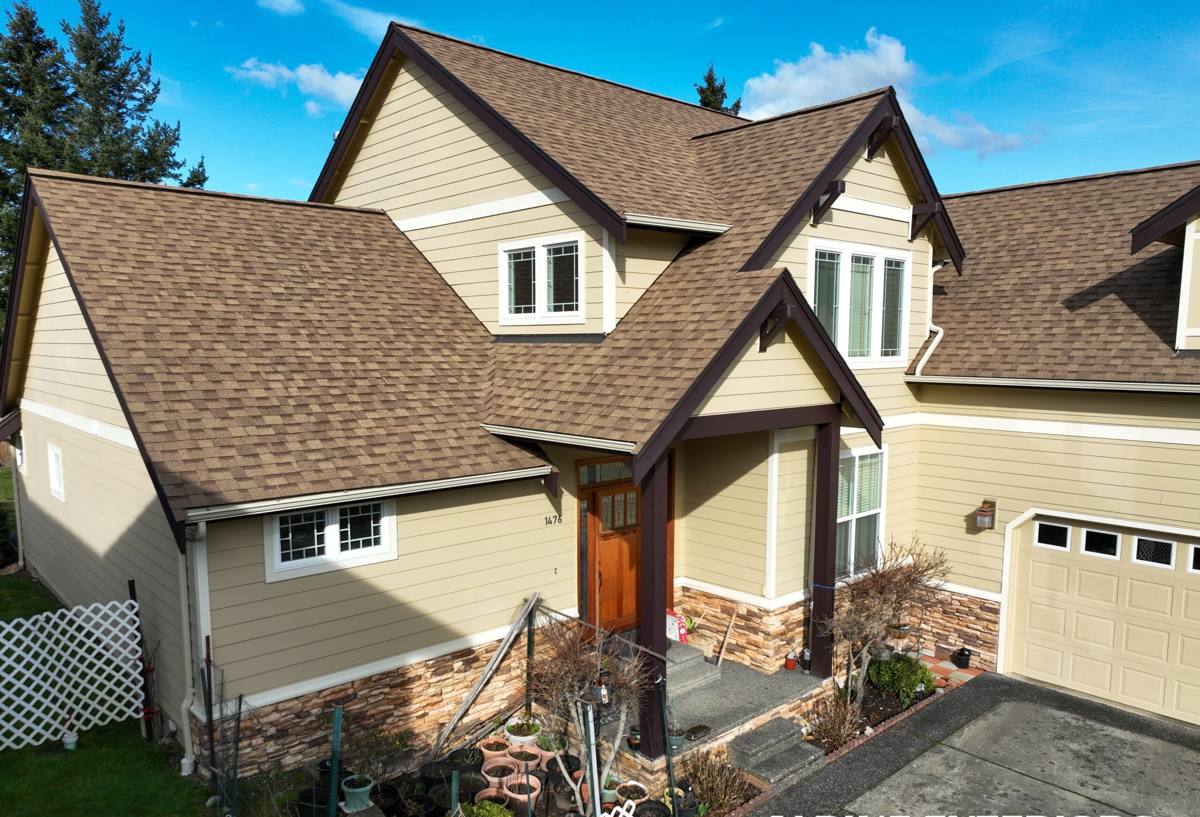
New-Construction vs. Replacement Windows — Why the Distinction Matters
New-construction windows come with a nailing flange (also called a nail fin) around the perimeter of the frame. That flange gets fastened directly to the sheathing and integrated into the weather-resistive barrier (WRB) and flashing system before siding or trim goes on. Replacement windows, by contrast, are built to fit inside an existing frame with no flange, relying on the old frame and trim to carry the weatherproofing. You cannot substitute one for the other without compromising the water management of the wall.
Why This Matters More in Skagit County
Because Burlington and the surrounding Anacortes area see sustained wind-driven rain rather than just vertical rainfall, water gets pushed sideways against the wall and up under laps in siding and trim. A flanged window that's correctly lapped into the WRB sheds that water down and out. A window that's improperly sequenced — flange taped over the WRB instead of under it, or missing sill flashing — gives wind-driven rain a path straight into the wall cavity. On a new build, that mistake gets sided over and stays invisible until there's rot, stained drywall, or a mold smell showing up years later.
What a Correct New-Construction Install Actually Involves
A proper new-construction window installation follows a specific sequence, and skipping or reordering a step is where most problems start. The rough opening, the WRB, the flashing tape, and the window itself all have to layer correctly — like shingles — so water always moves down and out, never sideways or in.
The Sequence We Follow
- Confirm the rough opening is square, level, and sized correctly for the window unit before it ever leaves the truck.
- Install sill flashing (either a pre-formed sill pan or built-up flashing tape) so the sill is sloped to drain outward, not level or back-pitched.
- Set the window into the opening, shim it plumb and square, and fasten through the nailing flange per the manufacturer's schedule.
- Flash the side flanges over the sill flashing and under the WRB (the WRB always laps over the top and sides, under the sill flashing — never the reverse).
- Flash the head flange with a drip cap or head flashing that laps over the WRB above the window, giving water above the opening somewhere to go besides straight down the face of the flange.
- Seal and backer-rod the interior perimeter per code and manufacturer instructions, then verify operation — every sash opens, closes, and locks smoothly before we call it done.
Every one of those steps is inspectable before the wall closes up, which is exactly why we walk it with the builder or homeowner rather than treating it as something to check off unseen.
Where Corners Get Cut
The most common shortcuts we see on new construction — from other crews or from a rushed schedule — are skipping the sill pan, taping flanges directly over bare sheathing without integrating the WRB properly, and caulking the head flange solid instead of leaving it as a functioning drip edge. All three save a few minutes per window and cost real money later, because the failure shows up as water intrusion, not as a visible workmanship flaw.
Choosing Window Materials for a Coastal Skagit County Build
Material choice matters more here than in drier inland climates, because the frame is exposed to both salt air and sustained moisture. Vinyl, fiberglass, and wood-clad units each behave differently under those conditions.
| Material | How It Handles Salt Air & Moisture | Maintenance | Typical Fit |
|---|---|---|---|
| Vinyl | Won't corrode or rot; performs well in salt air | Low — occasional cleaning | Most new-construction budgets |
| Fiberglass | Excellent — dimensionally stable, resists moisture and salt exposure | Low | Mid-to-upper budget, higher-exposure walls |
| Wood-clad | Exterior cladding protects the frame, but any breach in the cladding exposes wood to moss and rot risk | Higher — cladding seams and any exposed wood need monitoring | Interior-style preference, sheltered elevations |
| Aluminum-clad | Good moisture resistance; can be prone to condensation in cold, damp stretches without a thermal break | Low-moderate | Modern/contemporary builds |
We don't push one brand or material on every job. What we do insist on as our own standard is that whatever product goes in has a nailing flange rated for the exposure, a warranty structure that actually covers the coastal Pacific Northwest, and glazing options (typically dual-pane, low-E) suited to the region's overcast, wet winters. On elevations that take the brunt of prevailing wind and rain — usually west- and southwest-facing walls in this part of Skagit County — we'll often recommend stepping up in material or flashing detail even if the rest of the house doesn't need it.
Our Process, Start to Finish
New-construction window work has to sync with the framing and siding schedule, so timing and communication with the builder (or with you, if you're owner-building) matter as much as the install itself.
1. Site Visit and Rough Opening Review
Before windows are ordered, we review the rough opening sizes against the window schedule and framing plans, and flag any openings that are out of tolerance while they're still easy to fix.
2. Product Selection
We walk through material, glazing, and hardware options based on the elevation's exposure, the home's design, and budget — with straight talk about trade-offs rather than upselling.
3. Flashing and Install
We follow the sill-first, WRB-integrated sequence described above on every opening, not just the ones that are easy to reach.
4. Inspection Before Siding
Every flashing detail gets a visual check before the WRB and siding cover it — this is the point where a problem is a five-minute fix instead of a tear-off.
5. Final Walkthrough
We test operation, hardware, and weatherstripping on every unit, and walk the exterior with you so you know exactly what was done at each opening.
What This Costs, and What Drives the Price
New-construction window pricing varies by unit count, size, material, and glazing package, and we don't publish blanket numbers because every build is different. What we can tell you is what actually moves the price up or down:
| Cost Factor | Why It Matters |
|---|---|
| Window count and size | Larger openings and more units mean more material and labor hours |
| Frame material | Fiberglass and wood-clad typically run above vinyl |
| Glazing package | Upgraded low-E coatings or gas fills add cost but improve comfort and efficiency |
| Exposure and elevation | High-exposure walls may warrant upgraded flashing details, adding labor |
| Access and scheduling | Multi-story builds or tight sequencing with other trades can affect labor time |
We give a firm, itemized estimate after reviewing the plans and window schedule — not a rough guess over the phone.
Questions Worth Asking Any Contractor Before They Install Your Windows
New-construction window work is largely invisible once the siding goes on, which makes it one of the easier places for a subpar install to hide. Before you hire anyone for this stage of a build, it's worth asking:
- Do you install a sill pan or built-up sill flashing on every opening, or only when asked?
- Can you walk me through your flashing sequence and how it laps with the WRB?
- Will you do a visual inspection before siding covers the flashing, and can I be there for it?
- What's your process if a rough opening is out of tolerance?
- Do you have experience with the specific exposure conditions on this lot — wind direction, rain exposure, shading?
- What warranty applies to both the window unit and your installation labor, and who do I call if there's an issue?
A contractor who answers these without hesitation has done this enough times to have a real process, not just a habit.
Why Local Experience in Burlington and the Anacortes Area Matters
Skagit County's coastal exposure isn't uniform — a lot a few miles inland from the water sees different wind and rain patterns than one facing open water near Anacortes. A crew that already works this area knows which elevations typically need the extra flashing detail, how the region's wet season affects install scheduling, and how moss and algae growth on north- and shade-facing walls tends to develop over the following seasons if the water management isn't right. That local pattern recognition doesn't replace following the manufacturer's install instructions to the letter — it adds judgment on top of them for the specific conditions your lot will actually face.
Living With New Windows in a Salt-Air, High-Moss Climate
Once the windows are in and the house is finished, a little seasonal attention keeps them performing the way they were installed to. Rinse accumulated salt film and grime off exterior frames periodically, especially on walls facing the water. Keep an eye on caulk lines and weatherstripping for any cracking after a few winters, and clear moss or organic buildup off adjacent trim and siding before it holds moisture against the window frame. None of this is heavy maintenance — it's the same kind of upkeep most homes in this climate need — but it matters more on a coastal lot than it would twenty miles inland.
If you're building or planning a build in Burlington and want windows installed by a crew that treats the flashing sequence as the actual job, not an afterthought, we're glad to walk your plans and rough openings with you. Reach out for a free, no-pressure estimate using the form below.