 Anacortes Roofing
 Building New Near Conway? Get the Windows Right the First Time
When a home is framed and ready for windows, there's a narrow window (no pun intended) to get the installation right before siding, trim, and interior finish work close everything up. Out here between Anacortes and the Skagit River delta, that first install matters more than in drier parts of the state. Conway sits low in the valley, exposed to wind off the water and the kind of steady, driving rain that doesn't just fall straight down — it gets pushed sideways into wall assemblies. New-construction windows give you the chance to build the water management right into the wall from day one, instead of fighting it later.
We work new-construction window installs for builders and homeowners in the Conway area as part of our regular Anacortes and Skagit County service territory. This page focuses specifically on that: what a correct new-construction window install looks like here, and why the climate around Anacortes and Skagit County changes how we approach it.
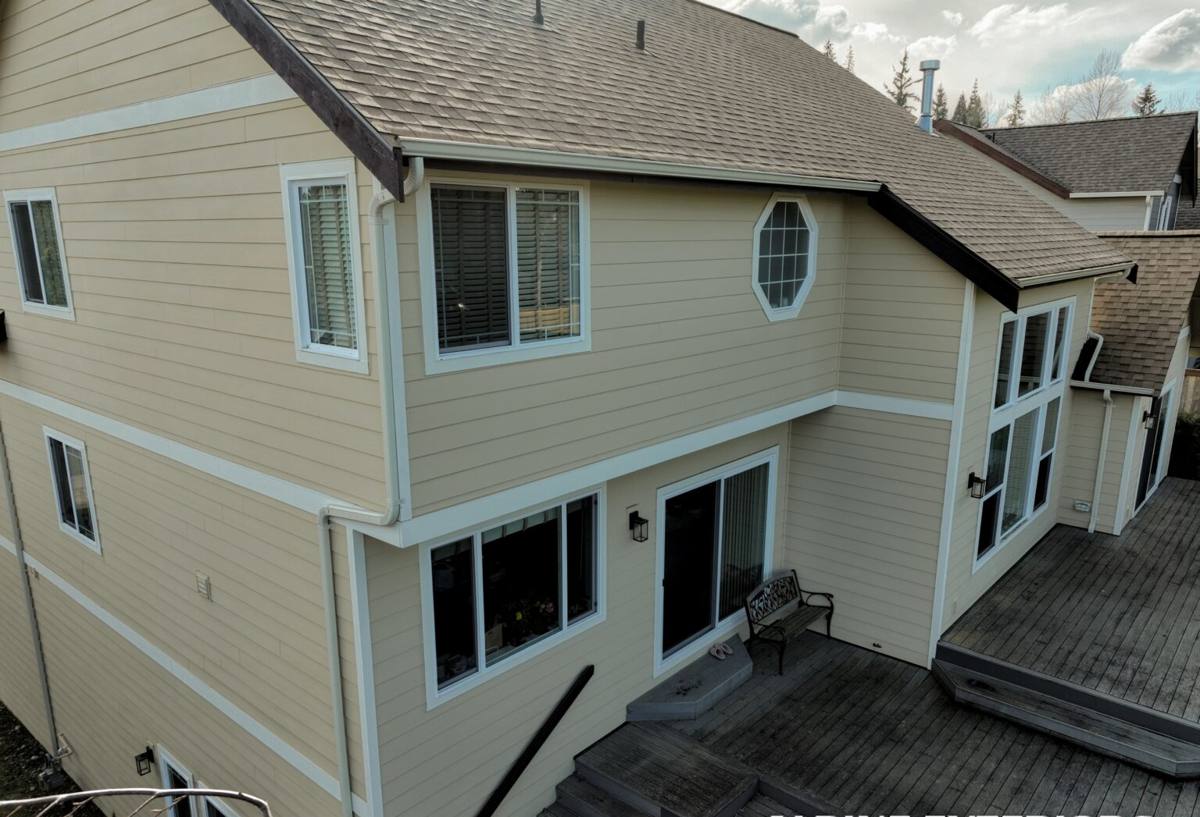
What Skagit County Weather Demands From a New Window Install
Anacortes and the surrounding Skagit County lowlands get a specific combination of conditions that most window installation guides don't account for. Three things drive almost every decision we make on a new-construction job out here:
Salt Air and Corrosion
Being close to Puget Sound and the Salish Sea, homes in this region see airborne salt that accelerates corrosion on unprotected fasteners, hinges, and cheaper cladding. It's not dramatic — it's slow, and it shows up years later as streaking, pitted hardware, or a window that won't latch smoothly anymore. We factor this into fastener selection and hardware choice on every install, not just the ones facing the water.
Driving Rain and Wind-Driven Water
Conway's low, open terrain means wind-driven rain hits walls at an angle, not straight down. A window that's only designed to shed water from above will still let water track sideways under the sill or behind the trim if the flashing sequence isn't built for it. This is the single biggest factor in how we detail a new-construction opening here.
A Long Moss and Humidity Season
Western Washington's moss season runs long — often eight months or more of damp, low-light conditions. That moisture doesn't just sit on roofs and siding; it lingers around window perimeters too, especially on north-facing walls that never fully dry out between rain events. Any organic debris or standing moisture trapped against a window frame accelerates rot in the surrounding framing and finish materials.
New-Construction Windows vs. Replacement Windows
These are genuinely different jobs, and the difference matters most in a climate like ours. A new-construction window has a nailing fin that gets integrated directly into the wall's water-resistive barrier (WRB) before siding goes on. A replacement window fits into an existing opening with the old frame still in place, relying on sealant and the existing wall's flashing rather than a full flange integration.
| Factor | New-Construction Window | Replacement Window |
|---|---|---|
| Water management | Flange integrates with WRB and flashing tape — best long-term protection against driving rain | Relies more on sealant at the perimeter; only as good as the existing opening's condition |
| Best used when | Framing is open, or siding is being removed down to the sheathing | Siding stays intact and the existing frame is sound |
| Long-term performance in marine climate | Strongest option — full control over sill pan and flashing sequence | Adequate if the original install was correct, but can't fix a bad original flashing job |
| Disruption | Higher during construction, but done once | Lower — faster, less invasive |
For a true new build or an addition in Conway, new-construction windows are almost always the right call, since you only get one chance to build the wall assembly correctly before it's covered.
What a Correct New-Construction Install Actually Involves
A window that looks fine from the outside can still be set up to fail in five or ten years if the sequence underneath wasn't done right. On a proper install, the order of operations matters as much as the window itself.
Sill Pan First
Every rough opening should get a sloped sill pan flashing before the window ever goes in. This gives any water that does get past the window a path back out, rather than a place to pool against the framing. In a climate with as much sustained rain as Skagit County sees, skipping this step is one of the most common causes of hidden rot we find on older or rushed installs.
Flashing Sequenced with the WRB — "Shingle Style"
Flashing tape and housewrap need to be layered like shingles — each layer overlapping the one below it — so water sheds down and out, never behind the layer underneath. Jamb flashing goes over the sill pan, and head flashing goes over the jamb flashing and the WRB above it. Get this order backwards and you've built a funnel instead of a barrier.
Backer Rod and Sealant, Not Sealant Alone
Gaps around the frame should be air-sealed with backer rod and a quality sealant rather than relying on foam or caulk alone to do the whole job. This also helps with energy performance, which matters through a long, damp winter when heating costs add up.
Proper Shimming and Fastening
Windows need to be shimmed plumb, level, and square at the manufacturer's specified fastening points — not just wherever's convenient. An out-of-square window stresses the frame, wears hardware faster, and can crack finishes prematurely, especially with the freeze-thaw and moisture cycling common here.
Frame Material Choices for a Conway Build
Material choice affects how a window holds up to salt air, humidity, and UV over decades, not just how it looks on day one.
| Frame Material | How It Holds Up Locally | Maintenance Consideration |
|---|---|---|
| Vinyl | Good moisture and corrosion resistance; performs consistently in coastal humidity | Low — occasional cleaning, no painting needed |
| Fiberglass | Very stable dimensionally, handles temperature and moisture swings well | Low to moderate — durable finish, minimal upkeep |
| Wood-clad | Attractive interior, but the exterior cladding and any exposed wood need real attention in a wet, mossy climate | Higher — exposed wood surfaces and seams need regular inspection and upkeep |
| Aluminum | Strong but prone to condensation and slower to insulate; salt air accelerates surface corrosion on unfinished or damaged coatings | Moderate — coating integrity needs monitoring near the water |
There's no single "right" material for every project — it depends on the home's design, budget, and how much long-term upkeep the owner wants to take on. We'll walk through the honest trade-offs for your specific build rather than pushing one option.
How We Work New-Construction Jobs in the Conway Area
- Walk the framed openings with the builder or homeowner before any windows arrive, checking rough opening sizes and sheathing condition
- Confirm window schedule against the actual openings — new-construction jobs are where ordering mistakes get expensive fast
- Install sill pan flashing and inspect the WRB integration point before any window is set
- Set, shim, and fasten each window to manufacturer spec
- Complete head and jamb flashing in proper shingle sequence, tied into the housewrap
- Air-seal the interior and exterior perimeter with backer rod and sealant
- Photograph flashing details before siding covers them, so there's a record of what's behind the wall
That last step matters more than people expect. Once siding goes on, nobody can see what's underneath — having documentation of the flashing work gives the homeowner and builder peace of mind, and gives us a reference if any question comes up years down the road.
Why Local Experience in This Specific Area Matters
A crew that mostly installs windows in drier inland climates will sometimes treat flashing and sealant as a formality rather than the main line of defense. Around Conway and the rest of Skagit County, that mindset doesn't hold up. We've seen what happens when driving rain finds the one gap in a rushed flashing job — usually years later, as hidden rot in framing that should have lasted decades. Working this area regularly means we know which wall orientations take the worst weather, which details need extra attention on a low-lying, wind-exposed lot, and how long moss season actually runs here versus what a general install guide assumes.
Maintenance Checklist for New Windows in a Marine Climate
A correct install gives you a strong starting point, but a little regular attention keeps it that way for the long run:
- Rinse salt residue off frames and glass a few times a year, especially on water-facing walls
- Check exterior sealant beads annually for cracking or separation, particularly after the first year as materials settle
- Clear moss, leaves, and debris away from sills and tracks before the wet season sets in
- Operate and lubricate hardware periodically so latches and hinges don't seize from humidity
- Watch for interior condensation patterns that could signal a seal or ventilation issue
- Have flashing and trim visually inspected every few years, especially on the sides of the home that take the most wind-driven rain
Planning a New Build or Addition Near Conway?
Whether you're a builder coordinating a new construction schedule or a homeowner overseeing an addition, getting the window install sequence right the first time avoids problems that are far more expensive to fix once siding and interior finishes are in place. We're happy to walk the site, review your window schedule, and talk through material and flashing details before anything gets installed. Reach out for a free, no-pressure estimate using the form below.