 Anacortes Roofing
 Siding Installation in Conway: Built for a Wet, Salt-Touched Corner of Skagit County
Conway sits low in the Skagit River delta, close enough to Skagit Bay that salt-tinged air is part of daily life, surrounded by farmland and tree cover that keeps humidity high long after a storm has passed. Homes here take a different kind of beating than houses twenty minutes inland — more standing moisture, more shade, more wind-driven rain off the water. Siding that's a good fit for a dry hillside lot in Anacortes proper isn't automatically a good fit for a low, damp property near Conway, and we treat the two differently.
This page is about one thing: what it actually takes to install siding correctly on a Conway home, and why the product and the crew both matter more here than in drier parts of Skagit County.
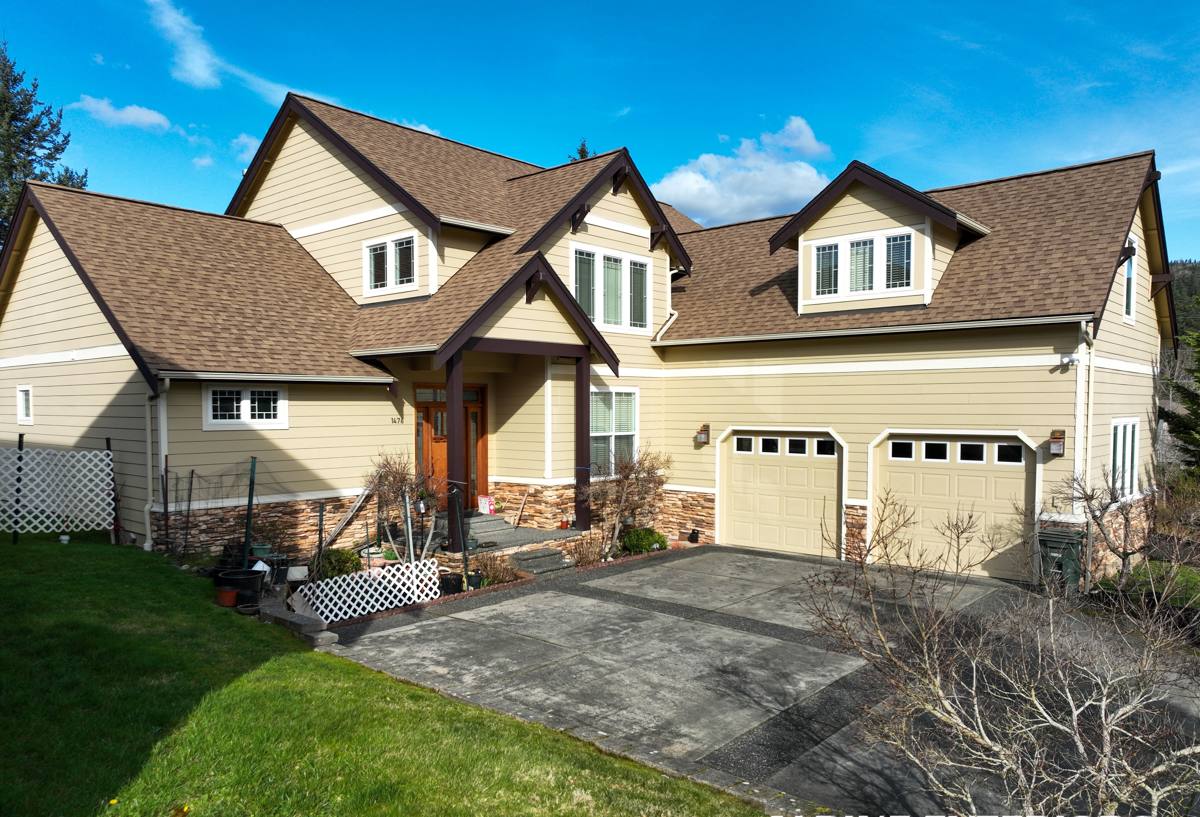
What Conway's Climate Does to Siding Over Time
Three conditions define the wear pattern we see on homes in and around Conway:
- Salt air: proximity to Skagit Bay means airborne salt settles on exterior surfaces and accelerates corrosion of fasteners, trim metal, and any siding product that isn't engineered to resist it.
- Driving rain: storms coming off the water push rain sideways into wall assemblies, not just straight down. Siding, flashing, and caulking all have to handle wind-driven moisture, not just gravity.
- Extended moss and mildew season: low elevation, tree cover, and persistent damp air mean north-facing and shaded walls stay wet longer between dry spells. That's exactly the environment moss, algae, and mildew need to take hold on a siding surface.
None of this is unique to Conway in isolation — Skagit County as a whole deals with a wet marine climate — but the combination of low elevation, tidal proximity, and heavy tree shade is more pronounced here than in most of the areas we serve.
Why This Matters More Than It Sounds
Moisture problems on siding rarely show up as a single dramatic failure. They show up as slow, cumulative damage: swelling at butt joints, soft spots where water has been sitting behind the surface, paint that won't hold, or trim that's rusting from the inside out. By the time it's visible from the street, the underlying wall assembly has often been wet for a long time. Getting the installation right the first time matters more in a climate like Conway's than almost anywhere else in the county.
Why We Install James Hardie Fiber Cement and Nothing Else
We install James Hardie fiber cement siding exclusively. We don't install vinyl, LP SmartSide, Cemplank, Allura, or primed wood products like spruce or cedar. That's not a marketing position — it's a standard we hold because of what we've seen these products do, and not do, in exactly this kind of climate.
Vinyl expands and contracts with temperature swings and can warp or crack over time; it's also a poor match for a marine environment where salt residue and grime build up in its texture. Engineered wood products like LP SmartSide use wood-based cores that, if a water path opens at a seam, joint, or fastener hole, are vulnerable to swelling and rot — a real risk in an area where walls can stay damp for days after a storm. Primed cedar and spruce look good on day one but demand a repainting and caulking schedule that most homeowners underestimate, and any lapse lets moisture in fast.
James Hardie fiber cement is non-combustible, dimensionally stable, and doesn't feed mold or rot the way wood-based products can. It comes factory-finished with ColorPlus technology, which resists fading and chipping far better than field-applied paint, and it carries a strong transferable warranty when installed to Hardie's specifications. For a property this close to salt water and this shaded, it's the product that holds up with the least ongoing maintenance.
The Right Hardie Product Line for This Climate
James Hardie engineers its siding by climate zone (HZ5 for the wetter, colder regions like ours, HZ10 for hot-dry climates), and using the correct HZ line is part of doing the job right. Installing the wrong engineered version, or installing the right product with the wrong details, undercuts the whole reason to choose Hardie in the first place.
What a Correct Siding Installation Actually Involves
Fiber cement performs the way it's supposed to only when the whole wall assembly is built correctly underneath it. The siding itself is the last piece, not the first.
- Tear-off and substrate check: removing old siding and inspecting the sheathing underneath for hidden rot or soft spots before anything new goes on.
- Weather-resistive barrier: a continuous, properly lapped house wrap or building paper that manages bulk water and lets the wall breathe.
- Flashing at every penetration: windows, doors, hose bibs, vents, and any other wall penetration need integrated flashing so wind-driven rain has nowhere to get behind the siding.
- Correct fastener schedule: Hardie specifies fastener type, spacing, and placement, and using the wrong fasteners in a salt-air environment invites corrosion and staining down the line.
- Proper clearances: siding held off decks, roof lines, and grade by the manufacturer's minimum gaps so water can drain and wood-to-ground or siding-to-ground contact doesn't trap moisture.
- Sealed joints and factory-cut edges: field cuts primed or sealed per spec so raw edges aren't left exposed to rain.
Skip any one of these steps and you can still end up with moisture problems behind a very good siding product. This is where installation quality matters as much as the material choice.
Our Process, From Estimate to Final Walkthrough
- On-site assessment: we look at your home's exposure — how much wind-driven rain and shade each wall gets — and check the current siding and sheathing for hidden moisture damage.
- Written estimate: a clear scope covering tear-off, any substrate repair, weather barrier, flashing details, Hardie product line and color, and a realistic timeline.
- Prep and protection: landscaping, walkways, and windows protected before tear-off begins.
- Installation to Hardie spec: substrate repair, barrier, flashing, siding, and trim installed in the order and manner James Hardie requires to honor the warranty.
- Final walkthrough: we go over the finished work with you, including caulking lines, trim details, and clearances, before calling the job done.
Cost Factors for Siding Installation in Conway
Every home is different, and we won't quote a number without seeing the property, but these are the factors that most often move the price up or down on a Conway job:
| Factor | Why It Matters Locally |
|---|---|
| Extent of tear-off | Older siding on a damp, low-lying lot is more likely to have hidden sheathing damage that adds repair scope. |
| Wall exposure | Walls facing the prevailing wind and rain off Skagit Bay need extra attention to flashing and sealing, which adds labor time. |
| Shade and moisture history | Heavily shaded, moss-prone walls often reveal more substrate wear once the old siding comes off. |
| Home size and complexity | Corners, dormers, and trim details all add material and labor beyond a simple flat wall. |
| Product selection | Lap width, texture, and ColorPlus finish options within the Hardie line affect material cost. |
| Access | Rural lots with limited equipment access can add setup time compared to a straightforward in-town job. |
Signs a Conway Home May Need New Siding
Because moisture damage builds slowly in this climate, it helps to know what to look for before a small issue becomes a structural one:
- Soft, spongy areas when you press on the siding, especially near the bottom of walls or under windows
- Persistent moss or dark streaking on shaded or north-facing walls that comes back soon after cleaning
- Peeling or bubbling paint, particularly on wood-based or previously repainted siding
- Visible gaps, warping, or separation at seams and corners
- Rusty streaks around fasteners or trim metal
- Rising heating bills or noticeably drafty walls, which can point to a compromised weather barrier behind the siding
Any one of these on its own isn't necessarily an emergency, but a combination of two or three is usually a sign the wall assembly has been taking on moisture for a while.
Why Hiring a Crew That Already Works in Conway Matters
A contractor who mostly works drier, in-town properties can still do competent work, but they're not necessarily thinking about wind-driven rain off the bay or how long a shaded wall stays wet after a storm. Crews that regularly work rural Skagit County properties near the water build habits around those conditions — where extra flashing attention pays off, which walls need the most careful sealing, and what substrate damage typically looks like when it's been hidden under old siding for years. That local pattern recognition is hard to replace with a generic install checklist.
It also means fewer surprises during the job itself. Rural access, weather windows between storms, and scheduling around wet ground conditions are all things a crew familiar with the Conway area plans for rather than discovers on-site.
Questions Worth Asking Before You Hire
- Will you inspect the sheathing before installing new siding, and what happens if you find hidden damage?
- What weather-resistive barrier and flashing details do you use at windows and doors?
- Which James Hardie product line and climate zone rating will be used on my home?
- What's your fastener schedule, and is it rated for a salt-air environment?
- Is your installation Hardie-spec compliant so the manufacturer's warranty stays intact?
- How do you handle scheduling around wet weather during the job?
If your Conway home's siding is showing signs of wear, or you're planning ahead before the next storm season, we're happy to take a look and walk you through what we're seeing — no pressure, no obligation. Reach out below for a free estimate.