 Anacortes Roofing
 Building New in West Anacortes? The Window Install Sets the Tone for the Whole Envelope
When a home is going up in West Anacortes, the window installation isn't a finishing touch — it's part of the structural water-management plan for the entire building envelope. Get it right during framing and the house stays dry for decades with minimal upkeep. Get it wrong and you won't see the problem until years later, when sheathing rot or hidden mold shows up behind drywall that's already painted and trimmed out. West Anacortes sits close to open water, which means new construction here deals with salt-laden air, wind-driven rain off the Sound, and a long stretch of damp, mossy months every year. None of that is exotic — but it does mean the window install has to be done with real attention to sequencing, not just set-and-caulk.
This page is about one job specifically: installing new-construction windows in West Anacortes homes, from rough framing through final trim, in a way that matches what this local climate actually demands.
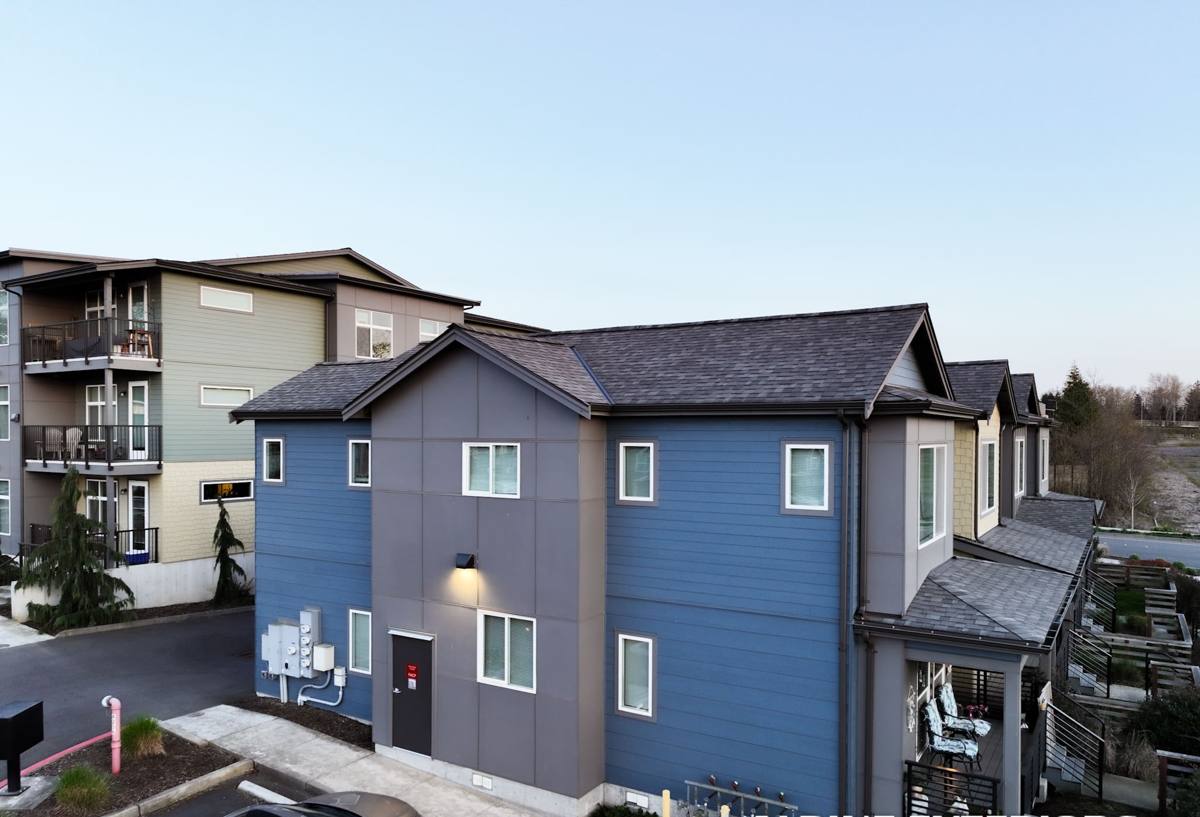
New-Construction Windows Are a Different Job Than Replacements
It's worth being clear about this up front, because homeowners and even some builders sometimes assume "installing a window" is one job no matter the context. It isn't.
New-construction windows typically have a nailing fin (or flange) around the perimeter of the frame. That fin gets integrated directly into the wall assembly — lapped with the weather-resistant barrier (WRB), flashed, and fastened to the rough opening before siding ever goes on. Replacement windows, by contrast, are usually installed into an existing opening after the original frame is removed, often without disturbing the siding or WRB at all.
The reason this matters for West Anacortes specifically: a nail-fin install done correctly becomes part of a continuous drainage plane that carries water down and out, past the sheathing, before it can ever reach framing. Done incorrectly — flashing out of sequence, sealant substituted for proper laps — it becomes a place where wind-driven rain gets trapped behind the cladding instead of shed off of it. In a climate with this much sustained damp weather, that difference compounds year over year.
Why This Deserves Extra Care Here
Skagit County's marine-influenced climate means West Anacortes homes get more cumulative wetting than homes further inland. It's not usually about a single dramatic storm — it's about months of low-grade moisture exposure, salt air settling on exterior hardware, and a moss season that keeps roof and wall surfaces damp longer than drier parts of the state. New construction gives you exactly one good chance to build the water management right, before the walls are closed up.
What West Anacortes's Climate Actually Demands from a Window Installation
We install windows differently for a home a mile inland versus one that's more exposed to the water and prevailing weather, and West Anacortes new construction tends to fall on the more exposed end of that spectrum.
- Salt air and hardware corrosion: Fasteners, flashing metal, and window hardware that would be fine in a dry inland climate can corrode faster near open water. We favor corrosion-resistant fasteners and flashing materials rated for coastal or marine exposure rather than standard-grade hardware.
- Driving, wind-driven rain: Rain that comes in at an angle, pushed by wind off the water, tests horizontal and vertical laps in a way that straight-down rain doesn't. Flashing sequence — not sealant — is what actually stops driving rain from working its way behind the siding.
- A long moss and damp season: Extended periods of dampness give mold and rot a longer runway if moisture does get trapped somewhere. That makes back-ventilation and drainage details (not just "keeping water out") part of a correct install, since some incidental moisture is normal and needs somewhere to go.
- Temperature swings and condensation: Coastal humidity plus interior heating in the cooler months can create condensation at the window if the rough opening isn't properly insulated and air-sealed — a detail that's easy to skip and hard to fix later.
Doing the Water Management Right: Sill Pan, Flashing, and WRB Integration
This is the part of the job that homeowners rarely see and almost never think about — and it's the part that determines whether the window performs for 20+ years or becomes a problem in five.
The Sill Pan and Back Dam
A correctly installed new-construction window starts with a sloped sill pan at the bottom of the rough opening, with a back dam to stop any water that does get past the window from running inward toward the framing. Skipping the sill pan and relying on sealant alone is one of the most common shortcuts we see — and one of the most consequential, because the sill is where water collects.
Shingle-Lap Sequencing
Flashing has to be installed in the correct order — sill flashing first, then the window's side flanges, then head flashing last — so that each layer overlaps the one below it, the same way roof shingles overlap. This "shingle-lap" principle lets water drain down and out over each layer rather than getting channeled behind it. Reversing this order, even by one step, can send water directly into the wall.
Integrating with the WRB
The window flanges need to be properly lapped into the weather-resistant barrier (housewrap or equivalent) rather than just taped over it. Done right, the window becomes one continuous piece of the drainage plane running from the roofline down to the foundation. Done as an afterthought, it becomes a seam where water can enter.
Sealant's Real Job
Sealant belongs in this system as a secondary defense, not the primary one. A window that depends on a bead of caulk to stay dry is a window that will eventually leak once that caulk ages, shrinks, or gets missed during a future re-caulk. We treat sealant as backup to correct flashing, not a substitute for it.
Frame Material Choices for a Marine Climate
New construction gives you a real choice of frame material, since you're not constrained by an existing opening. Here's how the common options compare for a coastal Skagit County build.
| Material | Salt Air / Moisture Resistance | Maintenance | Typical Cost Range | Best Fit |
|---|---|---|---|---|
| Vinyl | Good — won't rust or rot; UV exposure over decades can affect finish | Low | Lower | Budget-conscious builds, rentals, most standard new construction |
| Fiberglass | Very good — dimensionally stable, resists moisture and corrosion well | Low | Mid to upper | Homes with more direct wind/rain exposure or larger window sizes |
| Aluminum-clad wood | Good exterior protection, but interior wood core needs the seal to stay intact | Moderate | Upper | Homeowners wanting a wood interior look with better exterior durability than bare wood |
| Bare wood | Weakest in this climate — requires diligent upkeep to resist moss, moisture, and rot | High | Upper | Historic-style projects where the tradeoff is accepted going in |
We don't push homeowners toward the priciest option — we walk through what each material actually costs to own over time in this climate, including upkeep, and let that inform the decision alongside budget.
Our New-Construction Window Installation Process
The steps below are the same core sequence on every West Anacortes new-construction job, adjusted for the specific window line and wall assembly the builder or homeowner has chosen.
- Rough opening check: Confirm the opening is square, plumb, and sized correctly before the window ever arrives on site — catching a framing error now is far cheaper than after the window is set.
- Sill pan and back dam installation: Build the sloped, dammed sill flashing that the window will sit on.
- Set the window: Level, plumb, and square the unit in the opening, shimming as needed so it operates correctly and doesn't stress the frame.
- Fasten per manufacturer spec: Use the fastener type, spacing, and pattern the manufacturer requires — this affects both structural performance and warranty coverage.
- Flash in shingle-lap order: Integrate the side and head flashing with the WRB so water sheds down and out at every layer.
- Insulate and air-seal the perimeter gap: Fill the gap between the frame and rough opening with the correct low-expansion material — too little invites drafts and condensation, too much can bow the frame.
- Interior and exterior trim: Complete trim work and apply sealant as the secondary, backup layer of protection — not the primary seal.
- Final walkthrough: Check operation, seals, and flashing visibility before the wall is closed up, since this is the last point where problems are easy to fix.
Mistakes We See in New-Construction Window Installs
Most window problems in newer homes trace back to a handful of repeatable mistakes, usually made under time pressure during framing:
- No sill pan or back dam — relying on sealant alone at the sill, where water collects.
- Flashing installed out of shingle-lap order, so a layer meant to shed water instead channels it inward.
- Standard-grade fasteners used where corrosion-resistant hardware is warranted given the salt air exposure.
- Perimeter gaps left un-insulated or over-filled with expanding foam, causing drafts, condensation, or frame distortion.
- Sealant treated as the primary water barrier rather than a backup to correct flashing.
- Window flanges taped over the WRB instead of properly lapped into it, leaving a seam water can enter.
Each of these is invisible once the siding and trim go on — which is exactly why they tend to go unnoticed until a leak shows up years later.
What to Verify Before the Wall Closes Up
If you're a homeowner working with a builder, or a builder bringing in a window crew, this is the short list worth confirming before drywall or siding covers the work:
- Sill pan flashing with a back dam is installed at every window opening.
- Flashing is sequenced in proper shingle-lap order (sill, then jambs, then head).
- Window flanges are lapped into the WRB, not just taped over the top of it.
- Fasteners match the manufacturer's spec and are appropriate for a marine/coastal environment.
- Perimeter gaps are insulated with a low-expansion material, not overfilled.
- Photos are taken of the flashing and sill detail before it's covered, for your own records.
Why a Crew That Already Works West Anacortes Matters
A window installed by someone unfamiliar with this stretch of coastline is still a window — but the details that make it hold up here are the details a generalist crew is most likely to shortcut. A crew that regularly works West Anacortes has already seen how wind-driven rain behaves on exposed elevations, knows which fastener grades hold up against salt air over time, and understands how the local damp season stresses a wall assembly that isn't sequenced correctly.
There's also a practical side to local familiarity: scheduling around West Anacortes's wetter stretches, coordinating with other trades on an active new-construction site, and understanding the inspection expectations that come with Skagit County new-build projects. None of that shows up in a spec sheet, but all of it affects how smoothly the window install goes and how well it performs once the home is finished.
Get a Straight Answer for Your West Anacortes Build
Whether you're a homeowner working with a builder or the builder yourself, we're glad to walk the plans or the framed openings and give you a clear, no-pressure estimate on the window installation — materials, sequencing, and what it'll take to get it right for this location. Use the form below to get started.