 Anacortes Roofing
 Building New in Old Town Anacortes Means Building for Salt Air and Rain
Old Town Anacortes sits close to the water, and that proximity shapes everything about how a new home should be built — windows included. Salt-laden air off the Guemes Channel and Rosario Strait accelerates corrosion on hardware and fasteners that would last decades in a drier inland climate. Driving rain off Puget Sound tests every flashing detail the day the windows go in, not years later. And Skagit County's long, damp moss season keeps siding, trim, and sills wet for months at a stretch, which means any weakness in the water management around a window opening eventually shows up as rot, staining, or mold behind the wall.
New construction is the one point in a home's life when you get to build the window openings right the first time. Once siding and interior finishes are closed up, correcting a bad flashing job means tearing into finished work. We install new-construction windows in Old Town Anacortes as part of the framing-to-siding sequence, not as an afterthought bolted in after the fact.
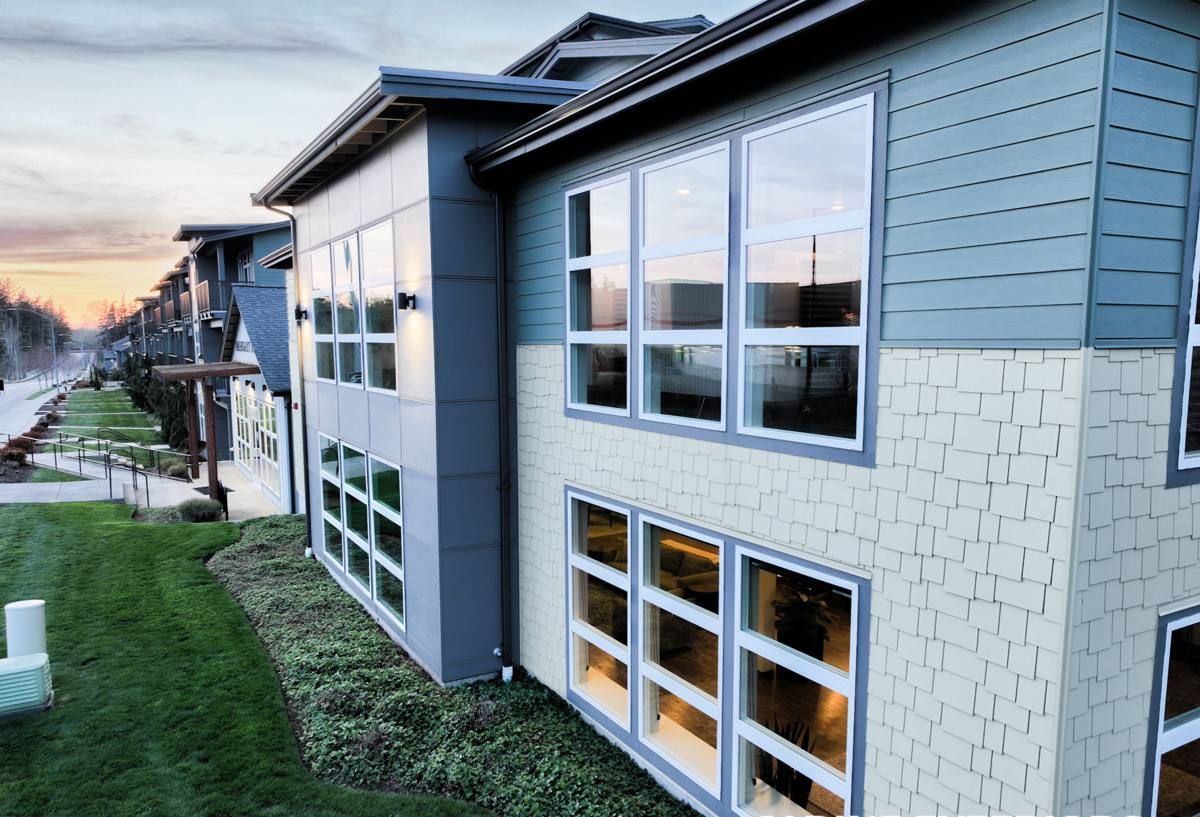
New-Construction Windows Are Not the Same Job as Replacement Windows
A lot of homeowners assume window installation is window installation. It isn't. New-construction windows typically have a nailing fin around the perimeter of the frame that gets fastened directly to the sheathing and integrated into the weather-resistive barrier (WRB) before siding goes on. Replacement windows are usually installed into an existing, already-sided opening, working around finished trim rather than building the water management from scratch.
That distinction matters because a new-construction install gives us full access to the rough opening, the sheathing, and the building wrap — which means we can build a proper drainage plane instead of just sealing gaps. Done correctly, this is the strongest, most weathertight way to install a window. Done carelessly, it's also the fastest way to trap water inside a wall where nobody will see it until the drywall or siding starts showing damage.
What This Means for a New Build on Fidalgo Island
Homes going up in and around Old Town Anacortes are exposed to wind-driven rain from multiple directions depending on the lot's orientation to the water. We treat every rough opening as if it will take direct weather at some point in the year, because on this part of Fidalgo Island, it usually will.
What a Correct Installation Actually Involves
There's a specific order of operations that keeps water moving out and away from the framing instead of into it. Skipping steps or doing them out of sequence is where most window-related water damage originates — and it's rarely visible until the problem has been developing for a while.
- Rough opening is checked for level, plumb, and square before the window ever shows up on site.
- Sill pan flashing is installed at the bottom of the opening to catch and direct any water that gets past the window back outside, rather than into the wall cavity.
- Window is set, shimmed for proper support at the sill and jambs, and fastened through the nailing fin per the manufacturer's schedule — not just "enough nails to hold it."
- Flashing tape integrates the nailing fin with the WRB in the correct shingle-lap order: sides first, then head flashing lapping over the top, so water is always directed downward and outward.
- Head flashing or drip cap is added above the window to break the path of water running down the wall face.
- Interior and exterior sealant is applied at the specified points only — over-sealing a window can trap moisture that has no way to escape, which causes its own problems.
- Operation is tested — every sash and lock cycled before the crew moves on — so nothing is discovered wrong after the siding crew has already closed up the wall.
None of these steps are exotic. They're standard practice. But standard practice only works if every step happens, in order, on every opening — which is where rushed installs on tight construction schedules tend to fall short.
Why Moss Season and Salt Air Change What "Good Enough" Means Here
In a drier climate, a slightly imperfect flashing detail might go years without causing a visible problem. In Anacortes, Skagit County's extended wet season means window openings spend a large part of the year saturated with moisture from rain, fog, and condensation. A gap that lets water in during a heavy October or November storm doesn't get much of a chance to dry out before the next one arrives.
Salt air adds a second layer to this. Fasteners, hinges, and hardware that aren't corrosion-resistant can start showing rust and pitting years before they would inland. We pay attention to fastener and hardware material specifications for homes this close to the water — it's a small line item that has an outsized effect on how the window performs and looks a decade in.
Choosing Window Materials for This Climate
Frame material affects how a window handles moisture, temperature swings, and salt exposure over time. There's no single right answer for every home — it depends on your budget, your home's design, and how much upkeep you want to take on.
| Frame Material | How It Handles This Climate | Maintenance |
|---|---|---|
| Vinyl | Good moisture and corrosion resistance; performs well in salt air without special coatings | Low — occasional cleaning, no painting |
| Fiberglass | Very stable through temperature swings, strong resistance to moisture and salt exposure | Low — durable finish, minimal upkeep |
| Wood-clad | Attractive interior wood look; exterior cladding needs to be fully sealed at every joint to keep moisture out of the wood core | Moderate — exterior seals and caulking should be checked periodically |
| Aluminum | Strong but conducts heat and cold; needs a thermal break and corrosion-resistant coating near the water | Moderate — watch for coating wear over time |
Whatever material you choose, glazing matters just as much as the frame. Low-E coatings help manage solar heat gain on west- and south-facing rooms with water views, while proper gas fill and spacer design keep the glass performing through Anacortes' cooler, wetter months.
Coordinating Windows With Your Builder or GC
On a new build, window installation sits at a specific point in the schedule — after the WRB is on and before siding starts. Getting the timing wrong causes real problems: install too early and the opening isn't ready; too late and it holds up every trade behind it.
We work directly with general contractors and framers in the Anacortes area so the window install fits cleanly into the build sequence instead of becoming the bottleneck. That includes confirming rough opening sizes against the actual window order before framing is finalized — a mismatch caught after the windows are ordered is expensive and slow to fix, and a mismatch caught after framing is worse.
What We Confirm Before Installation Day
- Rough openings match the ordered window sizes, with correct allowance for shimming
- WRB is installed and lapped correctly up to the point where flashing integration begins
- Sill pan materials and flashing tape are on hand and compatible with the WRB already on the wall
- Window units have been inspected for shipping damage before they're set
- Weather forecast allows for a dry, workable install window — flashing tape doesn't adhere properly to wet or cold sheathing
Where Rushed Installs Go Wrong
Most of the water intrusion problems we get called to diagnose in newer homes trace back to a handful of recurring shortcuts: head flashing skipped or installed under rather than over the WRB, sill pans left out entirely, fasteners driven at an angle that doesn't fully engage the framing, or sealant used to compensate for a flashing detail that wasn't done correctly in the first place. Every one of these is a schedule-driven shortcut rather than a hard problem to solve — they happen when window installation gets treated as a quick task squeezed between framing and siding instead of a trade with its own sequence that has to be respected.
We build in the time these steps actually take. It's a smaller line item on the schedule than fixing water damage behind finished siding two years later.
Our Process, Start to Finish
We start with a walk-through of the plans and rough openings, confirm window specs against the framing, and set a clear installation date that works with your build schedule. On install day, we handle sill pan flashing, window setting, fin fastening, and WRB integration as one continuous sequence rather than splitting it across visits. Before we leave, every window is tested for smooth operation and proper locking, and the flashing work is visually confirmed before siding closes it in for good. If your GC wants to inspect the flashing details before cladding goes on, we're glad to walk them through what's been done.
Why a Crew That Already Works Old Town Anacortes Matters
Wind direction, rain exposure, and salt air don't affect every lot in Skagit County the same way. A crew that regularly works in and around Old Town Anacortes has already seen how homes on hillside and water-facing lots take weather differently than homes further inland, and adjusts flashing and fastener choices accordingly rather than applying a one-size-fits-all approach. That local pattern recognition is the difference between a window install that's technically up to code and one that's actually built for the specific conditions your home will face.
If you're planning a new build or an addition in Old Town Anacortes and want windows installed correctly the first time, we're happy to take a look at your plans and talk through timing with your builder. Reach out for a free, no-pressure estimate using the form below.