 Anacortes Roofing
 Skyline's Exterior Climate Problem
Homes in the Skyline area sit close enough to the Salish Sea to catch salt-laden air off the water almost year-round, and that air doesn't stay outside — it settles on siding, works into seams, and slowly breaks down anything not built to handle it. Add Anacortes' driving winter rain, which comes in sideways more often than straight down, and a moss season that can run from early fall through late spring on shaded and north-facing walls, and you've got one of the tougher siding environments in Skagit County. This isn't a climate that punishes a house all at once. It wears it down a little every season, and the siding is the first line of defense.
A lot of exterior damage we see on Skyline homes isn't dramatic. It's slow: a soft spot behind a downspout, moss holding moisture against a wall for months, a seam that opened up just enough to let water track behind the cladding. None of it announces itself until the repair bill is bigger than it needed to be.
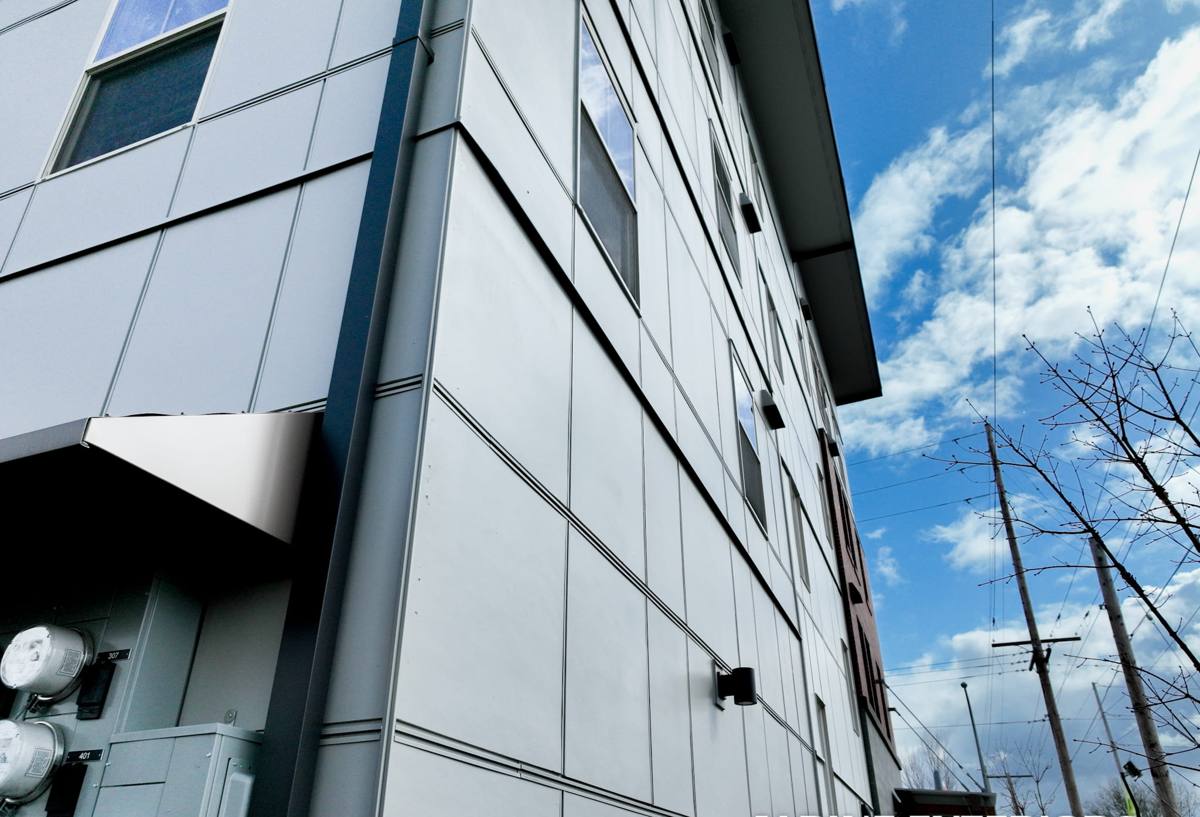
What the Wrong Material Does Out Here
Every siding material behaves differently once it's living on a marine-exposed wall. Untreated or primed wood absorbs moisture at cut edges and end joints, and once rot starts behind paint it's often invisible until the siding is soft to the touch. Vinyl siding expands and contracts with temperature swings and can warp or pull away from fastening points over time, especially on walls that take direct wind-driven rain. Engineered wood products are more stable than raw wood but are still wood-based at the core, which means the cut edges and any spot where the factory coating gets compromised are vulnerable to swelling if moisture gets in and isn't caught early.
None of that makes these products worthless — they're reasonable choices in a lot of climates. It's why, for a house sitting where Skyline homes sit, we don't install them. We'd rather put a product on the wall that's already engineered for exactly this kind of exposure than manage the maintenance schedule that the alternatives require here.
Why We Install Only James Hardie Fiber Cement
James Hardie fiber cement siding is cement, sand, and cellulose fiber — not wood, not vinyl. That composition is what makes it behave differently in a wet, salty climate:
- Non-combustible — it doesn't feed a fire the way wood-based siding can, which matters given Skagit County's dry-summer wildfire risk alongside its wet winters.
- Moisture-resistant by design — fiber cement doesn't swell, rot, or delaminate the way wood and engineered wood products can when water gets past a joint.
- Climate-engineered product lines — Hardie makes region-specific formulations (their HZ5 line is built for areas that see the kind of damp, moderate-freeze conditions Western Washington gets), rather than a single one-size-fits-all board.
- Factory-applied ColorPlus finish — the color is baked on at the factory under controlled conditions, so it resists fading and chipping far better than field-applied paint, and touch-up product is available to match it exactly.
- Backed by a real transferable warranty — that only holds up if the installation itself is done to Hardie's specification, which is the part most siding jobs get wrong.
That last point is worth sitting with. A lot of siding failures we get called out to inspect aren't material failures — they're installation failures. The board did its job; the install let water in anyway.
What a Correct Installation Actually Involves
James Hardie publishes detailed installation specifications, and skipping steps is the single biggest reason fiber cement siding underperforms. On a Skyline home, where wind-driven rain and prolonged damp are the norm rather than the exception, getting these details right matters more than it would in a drier inland climate.
The details that make or break the job
- Weather-resistant barrier and flashing installed correctly behind the siding, with proper overlap at every horizontal seam, window, and door opening so water is directed out, not trapped in.
- Correct gaps and clearances — Hardie specifies minimum clearance from roof lines, decks, and grade, plus expansion gaps at trim and butt joints. Too tight, and the board has nowhere to move; too loose, and you're inviting water and pests.
- Fastener pattern and depth — Hardie board needs to be fastened correctly (not overdriven, not underdriven) at the specified stud spacing, or the board can crack or work loose over time.
- Caulking and sealant only where Hardie calls for it — over-caulking traps moisture behind the board just as badly as under-caulking lets it in.
- Painted or factory-finished cut edges — every field cut needs to be sealed before installation, since a raw cut edge is the fastest way moisture gets into the board.
Any one of these done wrong won't necessarily show up right away. It shows up two, five, or ten years later, usually as a soft spot, a stain, or a seam that's failed — right when the homeowner assumed the siding was maintenance-free.
Choosing the Right Hardie Product Line for a Skyline Home
James Hardie makes several distinct product lines, and the right one for a given house depends on its style, exposure, and what look the homeowner wants. We walk through this with every Skyline homeowner rather than defaulting to one product.
| Product Line | Look | Best Suited For |
|---|---|---|
| HardiePlank Lap Siding | Traditional horizontal lap, smooth or woodgrain texture | Most home styles; the most common choice for full re-sides |
| HardieShingle | Staggered or straight-edge shingle look | Accent walls, gables, or homes going for a Craftsman or cottage look |
| HardiePanel Vertical Siding | Clean vertical panels, often paired with battens | Modern facades or as an accent alongside lap siding |
| HardieTrim | Smooth trim boards | Corner boards, window and door casing, fascia — finishing details on every job |
Most Skyline projects end up using HardiePlank as the primary field material with HardieTrim boards for a clean finish, sometimes with a HardieShingle or HardiePanel accent on a gable or entry feature. There's no single right answer — it comes down to what suits the house.
Our Process on Skyline Projects
- On-site assessment — we look at the existing siding, check for hidden moisture damage behind it, and inspect the sheathing underneath before quoting anything.
- Tear-off and sheathing check — old siding comes off and we address any rot, soft sheathing, or damaged framing before anything new goes up. Covering a problem is worse than finding it.
- Weather barrier and flashing — installed per Hardie's spec at every penetration, window, door, and horizontal seam, since this layer does as much work as the siding itself.
- Hardie installation — boards, panels, or shingles installed to manufacturer fastening and clearance specs, with every cut edge sealed on site.
- Trim, caulking, and final finish work — corners, casing, and any touch-up to the ColorPlus finish.
- Walkthrough and cleanup — we go over the finished exterior with the homeowner before we consider the job done.
What Drives Cost on a Skyline Siding Project
Every home is different, but the same handful of factors move the price on most Skyline jobs. We give a firm number after the on-site assessment, not before.
| Factor | Why It Matters |
|---|---|
| Home size and wall complexity | More square footage and more corners, gables, and cutouts mean more material and labor |
| Condition of existing siding and sheathing | Hidden rot or moisture damage found during tear-off adds repair work before new siding goes on |
| Product line and finish selection | HardieShingle accents and custom ColorPlus finishes cost more than standard lap siding |
| Trim scope | Full trim replacement versus reusing sound existing trim changes both material and labor |
| Site access | Steep lots, tight setbacks, or limited staging area — common on sloped Skyline properties — affect labor time |
Why a Crew That Already Works Skyline Matters
Siding work isn't identical from one Anacortes neighborhood to the next. A crew that's already worked homes on Fidalgo Island understands how much wind exposure a given elevation or tree line actually gets, how moss builds up differently on shaded versus open walls, and how to schedule tear-off and install around the wetter stretches of the year so a house isn't sitting open to weather longer than it has to be. That local pattern recognition is the difference between a crew guessing at what a house needs and a crew that's already seen how a dozen similar homes in the same conditions held up — or didn't.
It also means straightforward answers on permitting, realistic timelines that account for Skagit County weather windows, and a crew that isn't learning the area on your project.
Keeping Your New Siding Performing Long-Term
James Hardie siding installed correctly needs far less attention than wood, but "far less" isn't "none," especially in a marine climate. A short annual routine goes a long way:
- Rinse salt spray and general grime off exterior walls once or twice a year, especially on sides facing open water or prevailing wind.
- Keep landscaping and tree limbs trimmed back from siding so walls get airflow and sunlight, which slows moss and mildew growth.
- Check caulked joints around windows, doors, and trim annually and have any cracked or missing caulk redone before wet season.
- Repaint or touch up with matched ColorPlus product if a wall ever gets scuffed or scratched down to bare board.
- Watch gutters and downspouts for overflow or leaks that direct water onto siding rather than away from it.
If you're weighing a siding project on a Skyline home, we're happy to take a look and give you a straightforward, no-pressure estimate — no guesswork about what your walls actually need, just an honest read on the job.